Natural disasters like Hurricane Sandy and Texas winter storms can cut off food access for days or weeks. Having an emergency food supply means your family eats even when stores are closed. This guide shows how to stock up for 30 days, even with little space.
Many think you need a big pantry or basement for emergency food storage. But, you can store food in a small apartment, a single closet, or even under your bed. The trick is picking the right foods and storing them wisely.
Job loss, serious illnesses, and long natural disasters are reasons families need emergency food. Job loss can last months, and medical crises quickly use up savings. Severe weather can shut down roads and stores. Food storage reduces stress and worry during these times.
Building your emergency food supply doesn’t have to be expensive. You can stock up for one person for 30 days for about $100. Real families in the U.S. use building a 30-day emergency food supply as part of their emergency plans. This article guides you through the process step by step.
Start small if you’re new to this. Buy a few items each week. Your supply will grow without stress or waste. Soon, you’ll have a reliable backup plan for your family.
Table of Contents
Why You Need an Emergency Food Supply Without a Pantry
Life can change in an instant. Emergencies strike without warning, leaving families scrambling to find food and basic supplies. Building an emergency food supply gives you peace of mind and protects your loved ones during uncertain times. Whether facing natural disasters, job loss, or supply chain disruptions, having stored food at home means you won’t depend on crowded stores or empty shelves when you need help most.
Understanding the real reasons why you need an emergency food supply makes it easier to take action. The risks are more common than many people realize, and preparation can make a real difference for your family’s safety.
Natural Disasters and Power Outages
Severe weather events happen every year across America. Hurricanes, blizzards, and storms create dangerous situations that keep people trapped at home for days. Power outages can affect food in refrigerators and freezers, spoiling meals you’ve planned. A well-filled, closed freezer can keep food safe for 2-3 days during an outage, giving you limited time to use what you have.
Real-world events show how fast situations turn bad. Hurricane Sandy emptied grocery stores within hours as residents rushed to stock up. Texas winter storms shut down supply chains for weeks, leaving many families without fresh food options. These unpredictable natural disasters remind us that stored food provides sustenance and peace of mind when normal systems fail.
Job Loss and Medical Emergencies
Financial hardship strikes many households without warning. Real-life experiences include prolonged unemployment, horrible illnesses, and extended natural disasters that prevented leaving the house. During these difficult times, families face impossible choices between buying food and paying bills.
A home emergency food supply removes this stress. When you lose your job or face unexpected medical bills, having three to fourteen days of food at home keeps your family fed while you find work or recover. This safety net lets you focus on what matters most during your crisis.
Supply Chain Disruptions
Global supply chains are more fragile than people think. When transportation networks break down or production slows, store shelves empty quickly. Families who wait until the last moment find nothing available.
- Supply chain problems can last weeks or months
- Store shelves may be completely bare during emergencies
- Prices jump dramatically when food becomes scarce
- Delivery services often stop working during crises
Having an emergency food supply stored at home protects your family from supply chain. You won’t be caught empty-handed when circumstances outside your control affect what’s available in stores.
The Four Golden Rules for Building Your Emergency Food Supply Without a Pantry
Creating an emergency food supply doesn’t have to be hard or expensive. Just follow four simple rules to build a stockpile your family will use. These rules help you avoid wasting money on unused foods and prepare for emergencies.
Start by knowing what your family eats. Don’t buy foods they won’t eat. This is key. Having SPAM and pickled asparagus might be okay, but if your family doesn’t like them, they’ll make things worse. Instead, choose foods your family will enjoy.
The next rule is about organizing. Use the first in, first out method to keep your food fresh. Write dates on items and use the oldest first. This simple trick keeps your food from going bad.
The third rule is about what you know. Store foods you can already make. If you’ve never cooked dried beans, now isn’t the time to start. Stock foods you’ve already made and liked. This makes meals easier and less stressful during emergencies.
The last rule is about saving money. Don’t overspend—add a few items each week to your shopping list. This way, you build your stockpile without breaking the bank. Small additions add up to a big difference.
| Golden Rule | Action Items | Benefits |
|---|---|---|
| Start with what you eat | List favorite meals, check pantry for current staples, buy familiar brands | Family enjoys food, nothing goes to waste, reduces stress |
| Rotate your supply | Label items with dates, organize by expiration, use first in, first out method | Keeps food fresh, prevents spoilage, saves money |
| Store what you know how to prepare | Choose recipes you’ve made before, avoid complicated new items, test shelf-stable versions | Reduces cooking confusion, builds confidence, ensures nutrition |
| Don’t break the bank | Add items weekly to shopping trips, watch for sales, buy generic brands, set small budget | Builds supply gradually, manages finances, creates sustainability |
These four golden rules help you create a food supply your family will enjoy. Start today by checking your family’s favorite meals, reviewing your pantry, and adding a few items to your next shopping list.
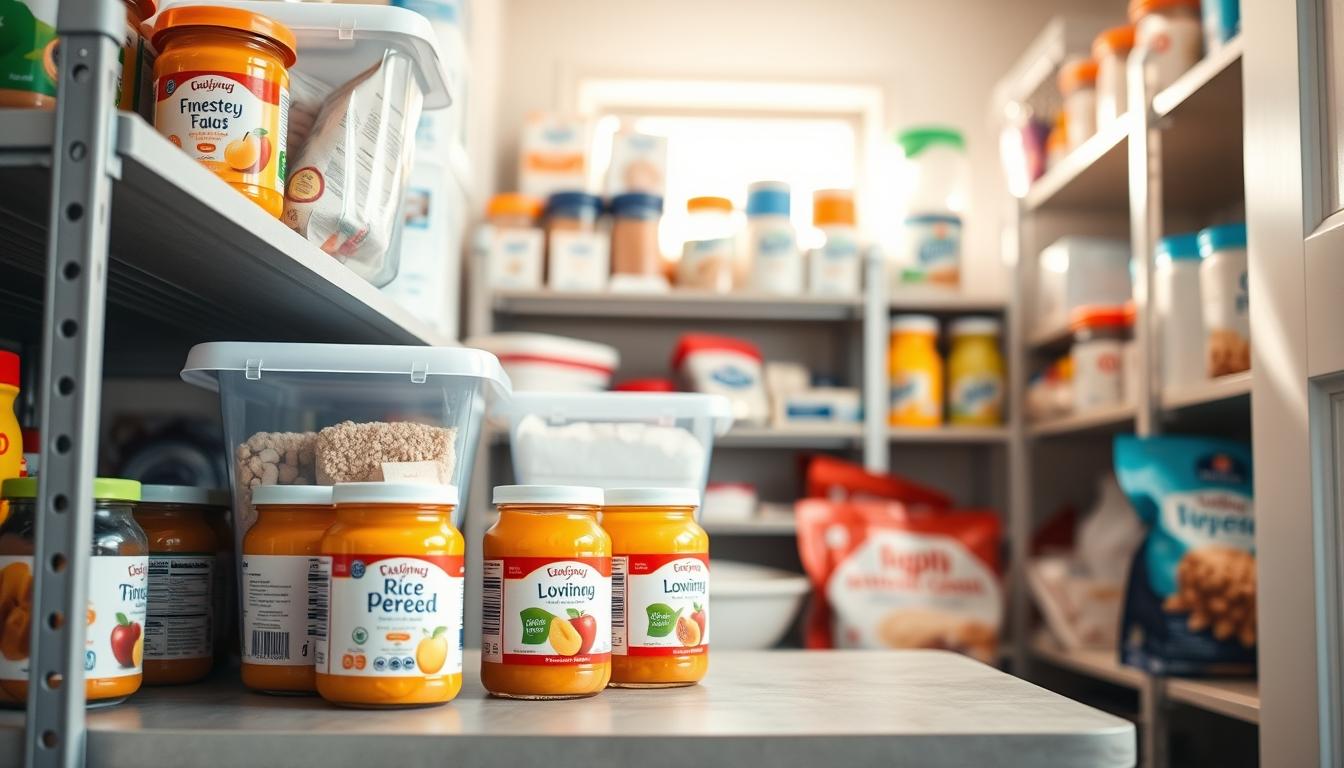
Essential Foods for Compact Emergency Storage
Creating an emergency food stash in a small area means picking foods that are both nutritious and space-saving. Focus on items that don’t need refrigeration and won’t spoil quickly. These should be easy to prepare without electricity and give you the energy you need during hard times.
The best foods for emergency storage are those that last a long time and are full of nutrients. You want foods that take up little space but offer big benefits when you need them most. Let’s look at the three main types that work best for storing in tight spaces.
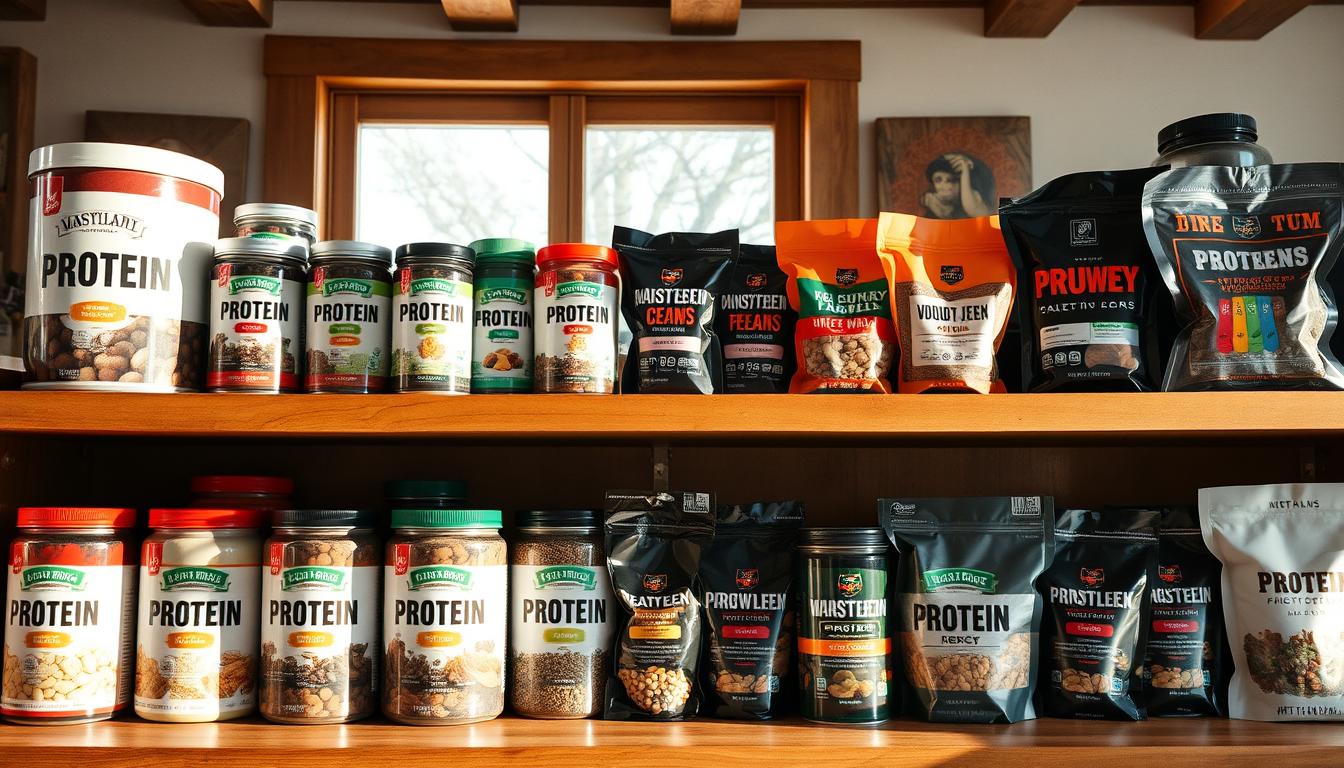
Protein Sources That Require No Refrigeration
Protein is key to staying full and strong during emergencies. Ready-to-eat canned meats like tuna and chicken are great choices that don’t need cooking. These compact cans provide complete protein.
Canned beans are another top protein source. Black beans, kidney beans, and chickpeas are packed with protein and fiber. You can eat them straight from the can or heat them up with other ingredients.
Peanut butter is a high energy food that offers both protein and healthy fats. Just 2 jars of peanut butter give you a versatile protein source that works with crackers, bread, or eaten by the spoonful. Trail mix and granola bars provide quick energy boosts when you need it fast.
- Canned tuna and chicken (3 cans minimum per week)
- Canned beans: 5 cans per week recommended
- Peanut butter: 2 jars for weekly supply
- Granola bars and trail mix for quick energy
- A small bottle of cooking oil for meal preparation
Shelf-Stable Carbohydrates and Grains
Carbohydrates fuel your body and brain during stressful times. Rice and pasta are great for storing because they last for years. A 5-pound bag of rice takes up little space but feeds many people. Five pounds of pasta works equally well.
Flour and oats are staple carbohydrates that work in many recipes. One large container of oats gives you breakfast options and baking ingredients. These grains stay fresh for a long time when stored in cool, dry spots.
Crackers provide satisfying carbs alongside your protein sources. They pair perfectly with peanut butter and canned meats for quick meals. Pasta sauce and broth turn simple grains into filling dishes. Two jars of pasta sauce can turn plain pasta into a complete meal.
| Carbohydrate Food | Recommended Amount | Storage Life | Best Uses |
|---|---|---|---|
| Rice | 5 pounds | 10-30 years | Base for meals, pairs with beans and broth |
| Pasta | 5 pounds | 8-10 years | Mix with pasta sauce and canned vegetables |
| Oats | 1 large container | 2-3 years | Breakfast, baking, energy food |
| Flour | 5-10 pounds | 6-8 months | Baking, thickening sauces |
| Crackers | Multiple boxes | 6-12 months | Pair with spreads and canned meats |
Canned and Dried Fruits and Vegetables
Canned fruits and vegetables deliver essential vitamins and minerals without taking up freezer space. Canned vegetables like corn and canned tomato paste add nutrition and flavor to basic meals. Five cans of vegetables per week ensure you get proper nutrition during emergencies.
Canned fruits provide natural sweetness and important nutrients. Five cans of fruit weekly gives you variety and prevents food boredom. These ready-to-eat options need no preparation beyond opening.
Dried vegetables like dehydrated onions add flavor to rice, beans, and broth without requiring much space. Canned juices and canned milk offer hydration and dairy nutrition when fresh options aren’t available. These shelf-stable liquids work well for mixing with powders or drinking straight.
Build your vegetable and fruit supply with these staples in mind:
- 5 cans of vegetables (corn, carrots, green beans)
- 5 cans of fruit (peaches, pears, mixed berries)
- Canned tomato paste for flavor and nutrition
- Dehydrated onions for seasoning
- Canned juices for hydration
- Canned milk as a dairy alternative
- Canned soup for ready-to-eat meals
Don’t forget basic staples like sugar, salt, and pepper. These seasonings make bland emergency food taste good. A small amount takes up almost no space but makes a big difference in meal satisfaction. Soup provides comfort and nutrition in one can, requiring only water or broth to prepare.
Your compact emergency food supply works best when you choose foods you actually enjoy eating. Test recipes with your stored items before emergencies strike. This way you’ll know exactly what works and what tastes good when you need it most.
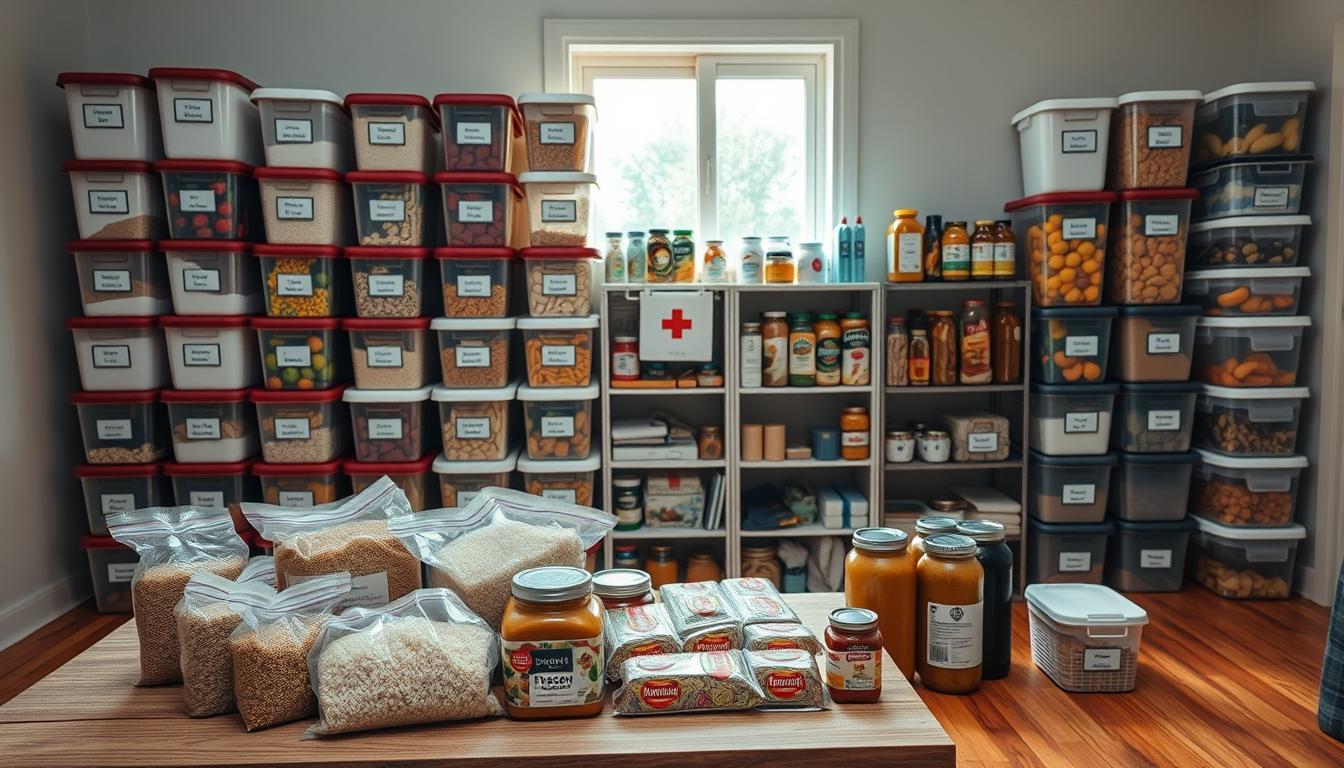
Creative Storage Solutions for Small Spaces
Living in a small apartment or home doesn’t mean you can’t build a solid emergency food supply. The key is getting creative with where you store your items. You have more options than you might think, and many of them fit perfectly into tight living situations.
One smart approach involves storing food under the bed, which is a valid option, even in small spaces. This often-overlooked area provides valuable storage without taking up precious closet or kitchen room. Just make sure containers fit snugly and are easy to access when needed.
Container Choices That Work Best
Your storage containers matter just as much as your storage location. Store purchased packages in airtight plastic food storage containers that stack well and save space. These work great for dry goods and are transparent, so you can see what’s inside at a glance.
Glass jars with screw-top lids offer another excellent choice. They protect your food well and look neat on shelves or in closets. For long-term dry goods storage, pack items in plastic bags with zipper closures to keep them dry and airtight. Mylar bags with oxygen absorbers work wonderfully for extending shelf life beyond what regular containers can achieve.
Non-rusty metal cans are reliable classics. They protect food from light and pests while lasting for years without deteriorating.
Location Matters for Food Safety
Where you place your emergency food supply is key. Store in the house, in air conditioning—this is your best bet for keeping food fresh longer. Store canned foods in cool, dry locations away from direct light. Keep dry foods in airtight, moisture-proof containers away from direct light in cool places. Avoid storing in attics or garages, where temperature swings and humidity can spoil your supplies quickly.
Think about bedroom closets, under-sink spaces, or the back of pantries. Basements work if they stay dry and cool.
Tracking Your Inventory
Smart organization systems keep you from buying duplicates or forgetting what you’ve stored. Simple solutions work best:
- Use a smartphone app like Inventory or Stock Rotation to photograph and track items
- Keep a notebook with a basic list of what’s stored and where
- Label containers with purchase dates and contents using waterproof markers
- Create a simple spreadsheet showing quantities and locations
Spending five minutes organizing your system now saves frustration during an emergency. You’ll know exactly what you have and where to find it quickly.
Building Your 30-Day Supply on a Budget
Creating an emergency food supply for around $100 per person for 30 days is doable without buying expensive kits. By spreading your purchases over three weeks, you can build a complete pantry without breaking the bank. The key is to choose ingredients instead of ready-made foods for flexibility. This way, you can make meals that your family will enjoy and fit their dietary needs.
Everything you need is available through Azure Standard or any grocery store in your area. This method works because you’re buying the basics for real meals, not prepackaged products. You’ll make meals like pancakes, rice and canned veggies, broccoli cheddar soup, and more. By the end of three weeks, you’ll have a solid foundation that grows stronger each week.
Week One: Foundation Foods Under $25
Start with items that give you the most nutrition and versatility. Your first week focuses on building blocks that support multiple meals throughout your 30-day supply.
- 2 jars peanut butter (protein and staying power)
- 1 large container oats (breakfast and baking base)
- 3 cans tuna or chicken (lean protein)
- 5 cans beans in variety (protein and fiber)
- Small bottle cooking oil (essential for preparation)
These items create the foundation because they’re versatile and nutrient-dense. Just this first week’s purchases give you several days of emergency food with real meal options. Store brands work perfectly and keep costs down without sacrificing quality.
Week Two: Expanding Your Options
Now add carbohydrates and variety that work with your foundation items. This week transforms your basic supplies into complete meal combinations.
- 5 lbs rice
- 2 jars pasta sauce
- 5 lbs pasta
- 5 cans vegetables
- 5 cans fruit
These items complement what you purchased in week one, enabling complete meals. Rice and beans create a filling combination, while pasta with sauce and vegetables offers comfort and variety. Canned fruit adds nutrition and brightness to oatmeal breakfasts.
Week Three: Meal Enhancers and Nutrition
Complete your 30-day supply with items that boost nutrition and morale when stress is high.
- Powdered milk (for calcium and cooking)
- Dried fruits and nuts (concentrated nutrition in minimal space)
- 5-10 cans soup (complete ready-to-eat meals)
- 2-3 boxes crackers in sealed packaging (versatile and comforting)
- Granola or energy bars (portable nutrition)
By week three, your emergency food supply takes real shape. These enhancers add variety and improve nutrition across your meals. They also provide comfort during stressful situations when psychological well-being matters as much as calories.
| Week | Key Items | Approximate Cost | Meal Examples |
|---|---|---|---|
| Week 1 | Peanut butter, oats, canned protein, beans, cooking oil | $25 | PB&J sandwiches, oatmeal, bean dishes |
| Week 2 | Rice, pasta, pasta sauce, canned vegetables, canned fruit | $25 | Pasta with sauce and vegetables, rice and beans, fruit with oatmeal |
| Week 3 | Powdered milk, dried fruits, nuts, soup, crackers, granola bars | $25 | Soup meals, crackers with peanut butter, energy snacks |
| Week 4 | Gap fillers like flour, baking essentials, spices | $25 | Pancakes, broccoli cheddar soup, Mexican rice, cowboy beans |
Money-saving strategies make this approach work. Buy store brands, watch for sales, shop at discount grocers, and purchase in bulk when possible. This gradual approach spreads costs across a month, so your weekly budget barely notices the addition. You’re building preparedness without financial stress, and each week brings real progress toward complete peace of mind.
Rotating and Maintaining Your Emergency Food Supply
To keep your emergency food supply fresh, use a smart rotation method. This approach prevents waste and ensures your family has nutritious food. It’s all about building simple habits that don’t feel like extra work.

The first in, first out method is the easiest way to manage your food. Use older items before newer ones. Place new items in the back and remove older ones from the front. Keep a list of when food needs to be checked and rotated.
Start by dating all foods when you buy them. This helps you track what needs to be rotated. Canned foods are good for a year or more if the cans are not damaged.
Your Annual Rotation Schedule
Plan to rotate non-perishable items once or twice a year. Use one month to use up and replace items like canned goods and candy. This costs about $50 per person and lets you change items based on what your family likes.
- Dry goods like flour, rice, beans, and sugar: Check annually for package integrity
- Canned goods: Rotate annually for best quality; they last two years or longer
- Crackers and granola bars: Rotate every 6–12 months
- Frozen items: Rotate within 3–6 months
Proper Storage for Maximum Shelf Life
To keep food fresh, freeze flour, rice, beans, and sugar for 2 days in their bags. This kills any insect eggs. Then, thaw and move them to mylar bags or airtight containers with absorbers.
Store canned goods in a cool, dry place away from sun. A basement, closet, or under-bed storage works well. Keep everything away from moisture to prevent rust and damage. Use clear containers so you can see what’s inside.
Simple Inventory Management
Track your supplies with a method you’ll actually maintain. Write a basic notebook list with item names, quantities, purchase dates, and storage locations. If packages don’t have cooking directions, write steps on index cards in waterproof bags.
| Storage Task | Frequency | What to Check |
|---|---|---|
| Inspect all containers | Twice yearly | Cans for rust or bulging; bags for moisture or insects |
| Update inventory list | Monthly | Add new purchases; note any used items |
| Rotate perishable items | Annually | Replace canned goods, candy, and cold items |
| Check seals and closures | Twice yearly | Ensure containers stay airtight and undamaged |
When you use stored food, notice what your family likes and what they don’t. This lets you change items that nobody likes. Replacing unpopular foods makes your emergency supply useful.
Spending a few hours each year on maintenance is worth it. This effort keeps your emergency supply reliable and ready for any situation.
Conclusion
The most important thing is to start preparing for your family. You don’t have to do everything in 30 days, but deadlines help. Begin by buying a few extra cans of beans, rice, or vegetables. Small steps can lead to big security for your loved ones.
Having food ready gives you peace of mind. It’s something money can’t buy. Families have seen how important it is to have food ready for tough times.
Space shouldn’t stop you from preparing. You’ve found creative ways to store food at home. You can build your supply slowly and affordably. You know what your family likes to eat and how to keep food fresh.
Check out the 30-day survival meal plan for preppers to improve your plan. Look for storage spaces in your home today. Every small step is important.
Make your first shopping trip this week. Organize one storage space in your home. Share your ideas with friends and family. Preparing for emergencies is a way to show you love your family.
FAQ
What’s the best way to start building an emergency food supply without a pantry?
Start with shelf-stable proteins like canned tuna and beans. Add carbs like rice and pasta. Choose foods that need little prep and don’t need to be refrigerated.
Begin with a 2-week supply and grow it to 30 days or more. Pick nutrient-dense foods that fit in small spaces like under-bed containers or closet shelves.
Why do I need an emergency food supply if I live in an apartment or dorm room?
Natural disasters, power outages, job loss, and medical emergencies can happen anywhere. Grocery store shortages have shown us that. Having a compact emergency food storage ensures you can eat nutritious meals during unexpected crises.
What are the four golden rules for building an emergency food supply without a pantry?
The four essential rules are: (1) Choose shelf-stable foods with long expiration dates; (2) Prioritize foods your family enjoys so rotation is natural; (3) Store in cool, dry places away from direct sunlight; and (4) Keep detailed inventory lists to track what you have and rotation dates.
What protein sources work best for space-saving emergency provisions?
Canned tuna, salmon, SPAM, and Vienna sausages are great choices. Canned beans and dried legumes like lentils and chickpeas also provide complete proteins. Peanut butter, nuts, and protein bars from brands like CLIF Bar offer protein without refrigeration.
Which shelf-stable carbohydrates should I prioritize for emergency storage?
Stock up on white rice, pasta, instant oatmeal, crackers, tortillas, and granola. These foods provide essential energy and store well in compact spaces. Brands like Quaker, Uncle Ben’s, and Barilla offer reliable options.
What canned and dried fruits and vegetables should I include?
Include canned vegetables like corn, green beans, carrots, and mixed vegetables. For fruits, choose canned pears, peaches, pineapple, and fruit cocktail. Add dried fruits like raisins, cranberries, and dates for variety.
What are the best creative storage solutions for small spaces?
Utilize under-bed storage containers, vertical wall-mounted shelving, and over-door organizers. Use kitchen cabinet risers and stackable clear bins. Hang shoe organizers on closet doors to store lightweight items.
How can I build a 30-day emergency food supply on a tight budget?
Start with foundational foods like rice, beans, and canned vegetables for under . Expand with protein sources like canned meat and added variety in canned fruits. Add meal enhancers like olive oil and spices to improve nutrition and taste.
What’s the most cost-effective way to buy emergency food?
Purchase items on sale and buy in bulk when possible. Visit discount grocery stores like ALDI and Costco for better prices. Use digital coupons and store apps that offer cashback. Buy generic brands instead of name brands for quality and savings.
How should I rotate my emergency food supply to prevent waste?
Use the FIFO method (First In, First Out)—place newer items behind older ones. Keep a detailed inventory spreadsheet or use apps like Pantry Check to track expiration dates. Review and rotate stock every quarter.
What should I do with emergency food supplies once I’ve bought them?
Store items in cool, dry locations away from direct sunlight. Check moisture levels and use desiccant packets if needed. Organize by food type and expiration date. Label containers clearly.
Can I store emergency food supplies in my kitchen without a traditional pantry?
Absolutely! Use cabinet risers and stackable organizers to maximize cabinet space. Install pull-out shelves for better access. Keep canned goods in under-sink storage.
What’s the ideal amount of water to store alongside emergency food?
Store at least 1 gallon per person per day for drinking and basic sanitation. For a family of four with a 2-week supply, that’s 56 gallons minimum. Use food-grade water containers or store shelf-stable water in plastic bottles.
Should I include special dietary items for my emergency supply?
Absolutely. Include gluten-free pasta and certified gluten-free items for celiac conditions. Stock sugar-free options for diabetic family members. Include formula and baby food if you have infants.
What non-food emergency items should I store with my food supply?
Include manual can openers, plastic utensils, paper plates and napkins, matches or lighter, cooking fuel (if applicable), first aid kit, flashlight with batteries, portable radio, medications, and toilet paper. Store plastic bags for waste and hand sanitizer.
How do I know if my emergency food supply is stil good?
Check expiration dates regularly using your inventory system. Inspect cans for bulging, dents, or rust, which indicate spoilage. Check dried goods for signs of pests or moisture damage.
What’s the best way to teach kids about emergency food preparedness?
Involve children in shopping and organizing your supplies. Let them help label containers and track inventory. Practice emergency meals together using your stored foods.
Should I share information about my emergency supply with family and neighbors?
Discuss emergency plans with immediate family members so they know where supplies are located and how to use them. With close friends and trusted neighbors, brief sharing of preparedness plans can be helpful for community support.
What should I do if I need to evacuate with my emergency food supply?
Pre-pack a grab-and-go bag with lightweight, calorie-dense items like granola bars, nuts, dried fruit, peanut butter packets, and bottled water. Keep this bag easily accessible near your exit. Store larger supplies in clearly labeled bins that can be transported quickly if you have vehicle access.