Creating a quick emergency food kit is easier than you think. You can make a three-day supply in just one weekend. With smart shopping and planning, you’ll be ready for anything.
Many people think emergency prep is too hard or expensive. But, learning to stock a 3-day food supply is simple. You likely have many items at home that are perfect for this.
University of Georgia Extension experts say a three-day kit is great for most disasters. Choose foods that don’t need refrigeration, cook little, and use little water.
This guide will teach you everything. You’ll learn why 72 hours is key for emergency planning. You’ll find out which foods to buy and how much water to store.
Preparing your emergency food supply is a caring act for your family. Having three days of food and water removes stress during emergencies. You’ll feel prepared and calm when disaster strikes.
Let’s start building your emergency food supply today.
Table of Contents
Why You Need a 72-Hour Emergency Food Kit
When disaster hits, you might not have time to shop for food. Power outages, storms, earthquakes, and winter weather can block access to food and water for days. That’s why a 72-hour emergency kit is key for your family’s safety and peace of mind.
Most emergency agencies suggest having at least three days’ worth of food ready. Emergency teams often need up to 72 hours to reach everyone after a disaster. In this time, your emergency food becomes your family’s lifeline. It means you won’t have to risk your safety or wait in long lines at crowded stores.
A 72-hour emergency kit also protects your family in unexpected situations. Water main breaks, gas leaks, or sudden job loss can force you to stay indoors. Even short emergencies can be stressful, but knowing your family won’t go hungry helps reduce anxiety.
Creating an emergency food supply isn’t about extreme survivalism. It’s like having insurance or a first-aid kit—basic household protection. University of Georgia Extension specialists say gathering essential items and storing them in one place helps households through emergencies. Families that prepare ahead feel calmer and more in control when emergencies strike.
- Protects your family during power outages and weather emergencies
- Eliminates stress about finding food during crisis situations
- Keeps your family safe by avoiding trips to overwhelmed stores
- Provides peace of mind knowing you’re prepared
Planning for disaster preparedness food now means your family can focus on staying safe when emergencies come. Building resilience starts with basic preparedness, and a 72-hour emergency kit is a good place to start for most households.
How to Stock a 3-Day Food Supply
Building an emergency food supply starts with knowing what your family needs. Choose foods that don’t spoil, need little to no cooking, and fit your space. Think about how many people you need to feed and any special dietary needs.
Include foods for infants, elderly family members, or those with allergies and medical conditions. Your non-perishable food list should bring comfort during stressful times. The right choices now mean your family stays nourished when emergencies happen.
Start by selecting shelf-stable foods that don’t need refrigeration. These foods last for months or even years on your pantry shelf. According to guidance on preparing an emergency food, your choices should need minimal water and preparation. This matters when power outages happen and normal cooking becomes impossible.
Non-Perishable Foods That Require No Preparation
Ready-to-eat foods work best for quick meals without cooking. These items keep your family fed fast and easy. Pack foods that need no water or heating for the quickest meals.
- Canned fruits and vegetables (already cooked)
- Canned beans and legumes
- Peanut butter and jelly
- Crackers and melba toast
- Granola bars and trail mix
- Dried fruits and nuts
- Hard candy and cookies
- Instant coffee and tea bags
- Canned juices and broths
- Shelf-stable milk boxes
Shelf-Stable Proteins and Ready-to-Eat Options
Proteins keep your body strong during emergencies. Pack shelf-stable foods that give you energy and lasting power. Your body needs these nutrients to handle stress and physical demands.
| Protein Source | Shelf Life | Serving Size Per Person | Preparation Time |
|---|---|---|---|
| Canned Tuna or Salmon | 2-3 years | 5.5 ounces daily | Ready to eat |
| Canned Chicken | 2-3 years | 5.5 ounces daily | Ready to eat |
| Peanut Butter | 6-9 months | 2 tablespoons daily | No preparation |
| Canned Beans | 3-5 years | 5.5 ounces daily | Ready to eat or heat |
| Beef Jerky | 1-2 years | 1-2 ounces daily | Ready to eat |
| Nuts and Trail Mix | 6-12 months | 1 ounce daily | Ready to eat |
| MREs (Meals Ready to Eat) | 5+ years | One meal per person | Minimal or none |
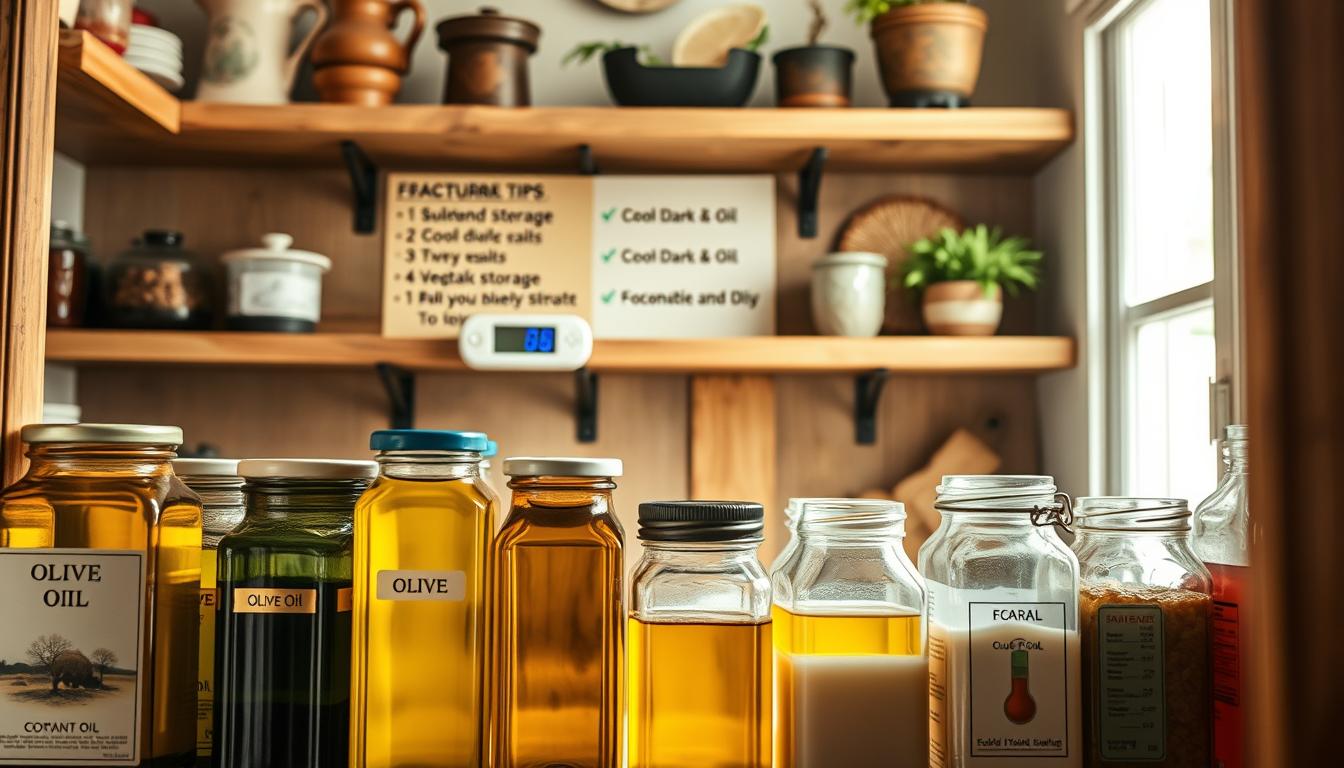
Emergency Water Storage Requirements
Water is your most important emergency supply. You need emergency water storage because you’ll drink it and use it for cooking. Plan for one gallon of water per person per day for a three-day supply. A family of four needs twelve gallons minimum.
Store water in clean, food-grade containers in cool, dark places. Tap water stays fresh for six months to one year when stored properly. You can also buy bottled water that lasts longer. Keep your emergency water storage separate from everyday supplies so it stays ready when you need it.
Water helps prepare foods like instant oatmeal, powdered milk, and dried soups. Stock extra water beyond drinking amounts. Many shelf-stable foods need water for preparation, so plan for your three-day emergency kit.
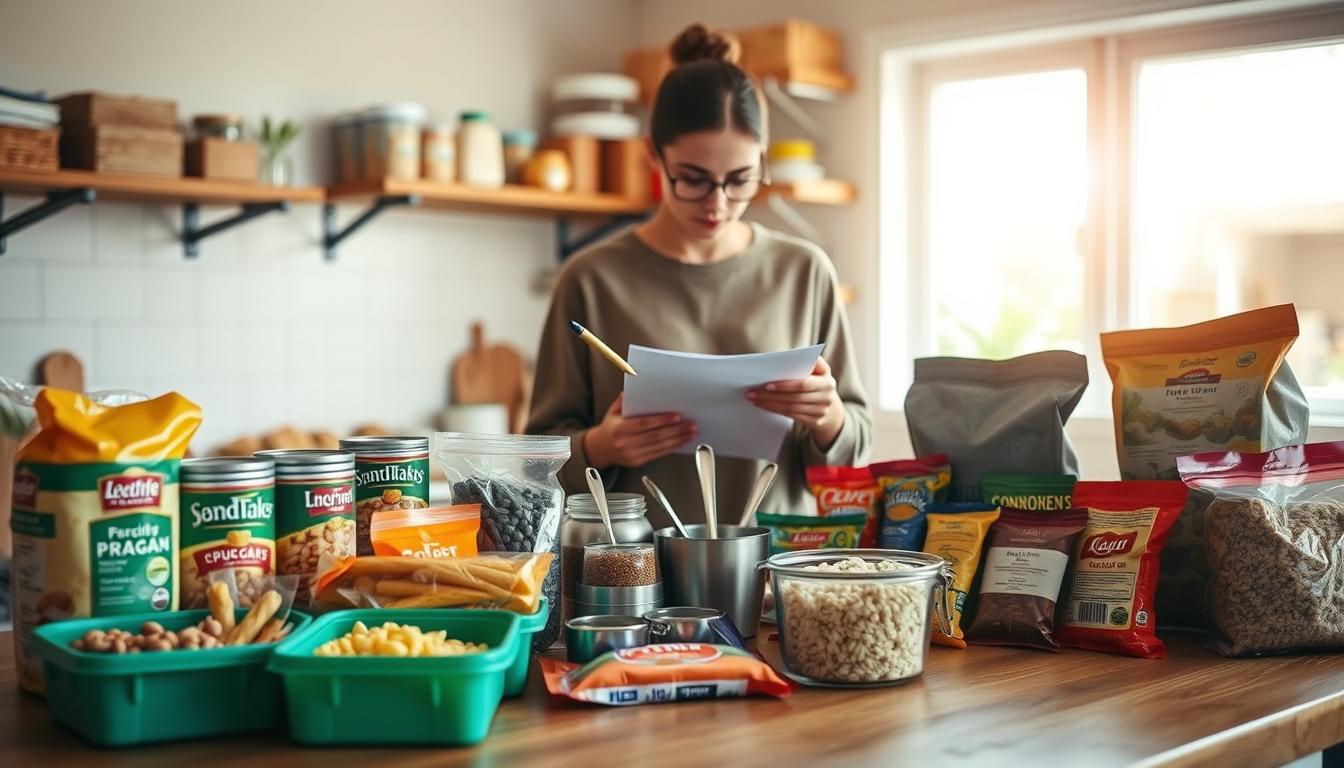
Building Your Three Day Food Supply Checklist
Creating a three day food supply checklist makes planning easier. Start by thinking about your family’s needs. List each family member’s name and any special diets they follow. This includes things like diabetes, food allergies, and lactose intolerance.
Children and elderly family members have different needs. Kids need smaller portions, and older folks might prefer softer foods.
Organize your checklist by food groups. This makes shopping easier. Use the Canned Food Alliance’s guidelines to help you:
| Food Group | Daily Need Per Person | 3-Day Total Per Person | Sample Items |
|---|---|---|---|
| Meats & Beans | 5.5 oz | 16.5 oz | Canned tuna, chicken, beans, peanut butter |
| Vegetables | 2.5 cups | 7.5 cups | Canned mixed vegetables, vegetable juice |
| Fruits | 2 cups | 6 cups | Canned fruit, fruit cups, dried fruit |
| Milk | 3 cups equivalent | 9 cups equivalent | Shelf-stable milk, evaporated milk, powdered milk |
| Grains | 6 oz | 18 oz | Crackers, cereal, granola bars, bread |
| Water | 1 gallon | 3 gallons | Bottled water or stored tap water |
- 3 cans (5 oz each) of tuna, chicken, or turkey
- 2 cans (15 oz) of beans or legumes
- 1 jar of peanut butter
- 6 cans (14.5 oz) of mixed vegetables
- 6 cans (8 oz) of fruit or fruit cups
- 3 cans (12 oz) of evaporated milk or 3 boxes of shelf-stable milk
- 1 box of crackers
- 2 boxes of ready-to-eat cereal
- 6 granola bars
- 3 gallons of water (or 4-5 cases of bottled water)
Remember to add non-food items to your checklist. These include:
- Manual can opener
- Disposable plates, cups, and utensils
- Paper towels and napkins
- Plastic bags for waste
- Comfort foods like cookies, candy, or coffee
- Vitamins and any medications
- Baby formula, baby food, or pet food if needed
When building your survival food planning system, multiply all quantities by your family size. Mark purchase dates on items. This helps you keep track of when to replace them.
Include a simple calculation worksheet in your checklist. Add comfort items for stressful times. Your checklist will help you shop and keep track of your emergency food.
Storing and Rotating Your Disaster Preparedness Food
Buying emergency food is just the start. Keeping it safe and fresh needs smart storage and a rotation plan. Your food must be cared for to stay good when you need it. This part talks about the best ways to store and keep your food fresh.

Think of your emergency food as a family safety investment. Without proper storage, it could spoil or become unsafe. Follow these tips to keep your food fresh for years.
Proper Storage Containers and Conditions
The right containers are key to keeping food fresh. Cool, dry places are best for canned foods and more. Keep them away from heat, light, and moisture.
- Use airtight containers to prevent insects and moisture
- Choose plastic bins or food-grade buckets with tight lids
- Store in basements, closets, or pantries away from direct sunlight
- Keep temperatures between 50 and 70 degrees when possible
- Avoid damp areas like garages or attics
University of Georgia Extension says canned foods stay safe for a year in cool, dry spaces. Many canned foods last two years or more with the right storage.
Dating and Rotating Your Emergency Supplies
A good rotation system keeps your food fresh. Mark everything with a permanent marker or freezer pen. Label items with the purchase date and when you open them.
| Task | Frequency | What to Check |
|---|---|---|
| Inspect containers | Every 3-4 months | Rust, dents, leaks, bulges, broken seals |
| Rotate supplies | Once or twice yearly | Use older items first, replace with new stock |
| Label check | When purchasing | Add purchase date and “Emergency” label |
| Remove damaged items | As discovered | Throw out rusty, leaking, or bulging cans |
Make a simple rotation schedule. Use older items first and replace them with new ones. This first in, first out method keeps everything fresh.
Store your emergency supplies in one place. Mark bins and containers clearly as “Emergency” or “Disaster Food”. Regular checks catch problems before they spoil your supplies. By keeping your emergency food storage right, you’ll have safe, ready-to-eat food when disaster hits.
Conclusion
You now know how to stock a 3-day emergency food supply this weekend. You don’t need special skills or a big budget. Experts say a 3-day supply is the minimum for most homes. So, you can finish your project in just one weekend.
The University of Georgia Extension says planning ahead reduces stress. Start with foods you already use at home. Choose non-perishable items, shelf-stable proteins, and one gallon of water per person per day. These choices ensure nutrition and peace of mind during emergencies.
Being prepared brings real benefits to your family. You’ll sleep better knowing your family is safe. Your kids learn the value of planning. You take charge when life gets tough.
Start your checklist today, shop this weekend, and organize your space. Mark your calendar for a rotation check in six months. Remember, emergency preparedness is an ongoing effort.
Once you learn to stock a 3-day supply, you can add more items. Include your family’s favorite comfort foods. Involve everyone in planning. Emergency preparedness is about caring for your loved ones, not fear. You’re ready for whatever comes next.
FAQ
Can I really stock a 3-day emergency food supply in just one weekend?
Yes, you can! Plan ahead, make a list, and shop for shelf-stable foods and water on Saturday. Organize everything in the afternoon. Most people can do this while doing weekend activities. Just have a clear list before shopping to avoid getting overwhelmed.
Why is 72 hours the specific timeframe recommended by emergency management agencies?
FEMA says 72 hours because it takes that long for help to arrive. It’s enough time to get through most emergencies without needing outside help. This time frame covers most short-term disasters.
What makes a food truly “shelf-stable” for my emergency food storage?
Shelf-stable foods don’t need refrigeration and last a long time. Look for canned proteins, vegetables, fruits, and dried goods. These foods stay good for months or years without special care. Avoid foods that need cooking or refrigeration for emergencies.
How much water do I need to store for a 3-day emergency kit?
You need one gallon of water per person per day. For a family of four, that’s 12 gallons. Store this in cool, dark places. Check your water every six months and replace it every two years if it has an expiration date.
What if my family has dietary restrictions like food allergies or diabetes?
Your emergency food must fit your family’s needs. For celiac disease, choose gluten-free foods. For diabetes, pick sugar-free options. Include any medical supplies and medications in your kit. Keep a list of dietary needs with your supplies.
Do I need a manual can opener, and what other non-food items should I include?
Yes, a manual can opener is key. Also, include disposable dishes and hand sanitizer. Add medications and special items like baby formula. Comfort items like cookies can also help during stressful times.
How should I organize and store my disaster preparedness food?
Store food in a cool, dark place. Use clear bins for easy access. Keep water on the bottom and organize food by category. Keep a checklist with your supplies and update it regularly.
What does “rotating your emergency supplies” mean, and how often should I do it?
Rotating means using older items and replacing them. Check every six months. Use older items for meals and replace them. This keeps your supplies fresh and safe.
Can I use my emergency food supply for regular meals if I rotate it properly?
Yes! Using emergency supplies in regular meals is a great way to rotate them. This makes your emergency food a part of your regular meals. It also helps you practice using shelf-stable foods.
What’s the difference between evaporated milk and shelf-stable milk for my emergency kit?
Both are good, but evaporated milk lasts longer and is better for cooking. Shelf-stable milk tastes more like regular milk and is better for drinking. Powdered milk is the most shelf-stable but may not taste as good.
How do I calculate the exact quantities for my family size?
Use a checklist and multiply quantities by your family size. For example, if it says 3 cans of tuna per person, multiply by 4. Keep a copy of your checklist with your supplies and update it as needed.
Should I include comfort foods in my emergency kit?
Yes! Comfort foods like cookies and coffee provide psychological comfort during emergencies. Choose items your family enjoys. This helps maintain morale and reduces stress.
What should I do about special baby food and infant formula in my emergency kit?
Include a 3-day supply of your baby’s formula, food, and diapers. Check expiration dates monthly and replace formula regularly. Keep a detailed record of your baby’s dietary needs with your supplies.
Can I store my emergency food separately from my regular pantry?
It depends on your situation. Some keep emergency supplies separate for easy access. Others integrate them into their pantry. Choose what works best for your household.
How do I know if my canned goods are safe after long-term storage?
Check cans for damage and expiration dates. Discard any damaged cans. When opening, smell and check for unusual colors or appearance. Most canned goods last 2-5 years when stored properly.
Can I include frozen foods or fresh produce in my emergency supply?
Not for your primary 72-hour kit. Use frozen and fresh foods first during power outages. Rely on shelf-stable foods for a true disaster scenario.
What’s the best storage container for my emergency water supply?
Bottled water is convenient and safe. For bulk storage, use food-grade containers. Avoid glass, painted metal, and regular plastic jugs. Store containers in dark, cool places.