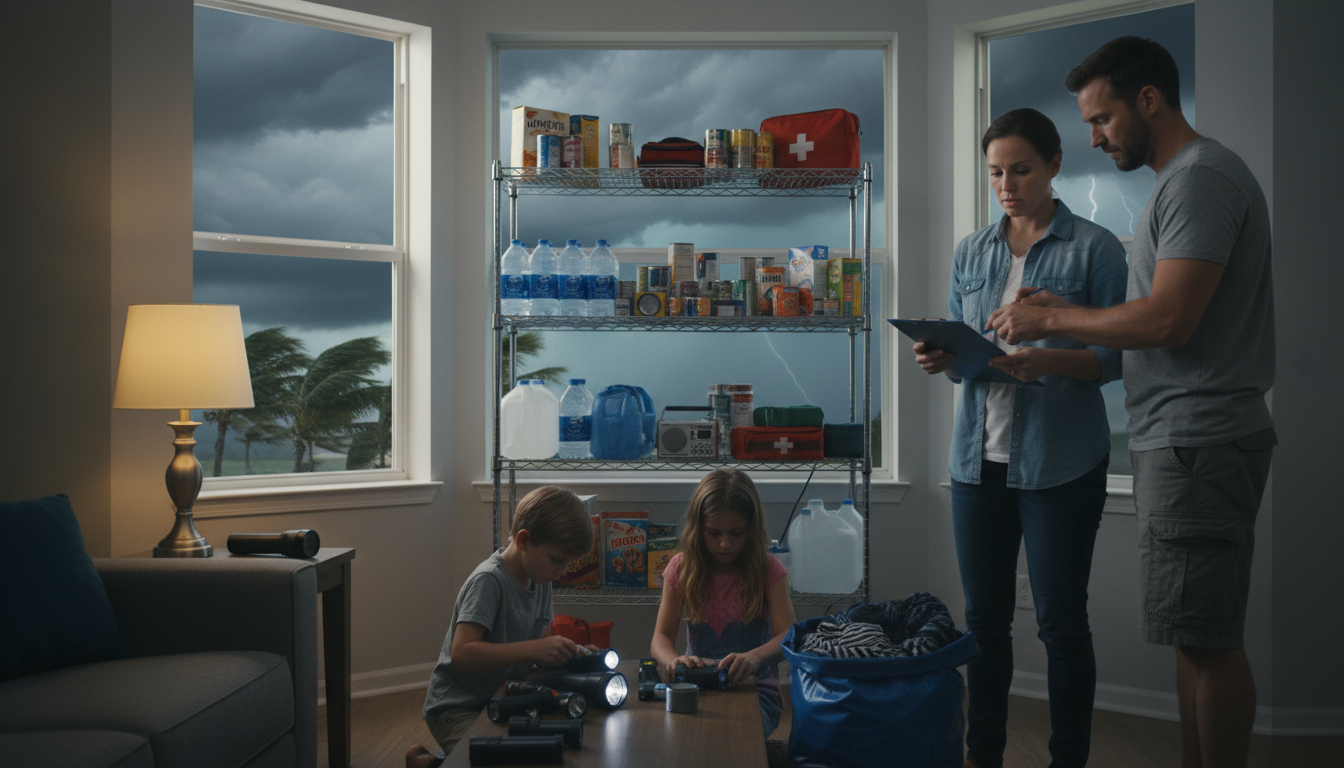
Most preppers focus on stockpiling food, water, and gear. These supplies are important. But many forget about cash, which is just as vital.
Think about what happens during a job loss or medical emergency. You can’t pay your mortgage with freeze-dried meals. You can’t cover utilities with ammunition. This is where prepper financial resilience becomes essential.
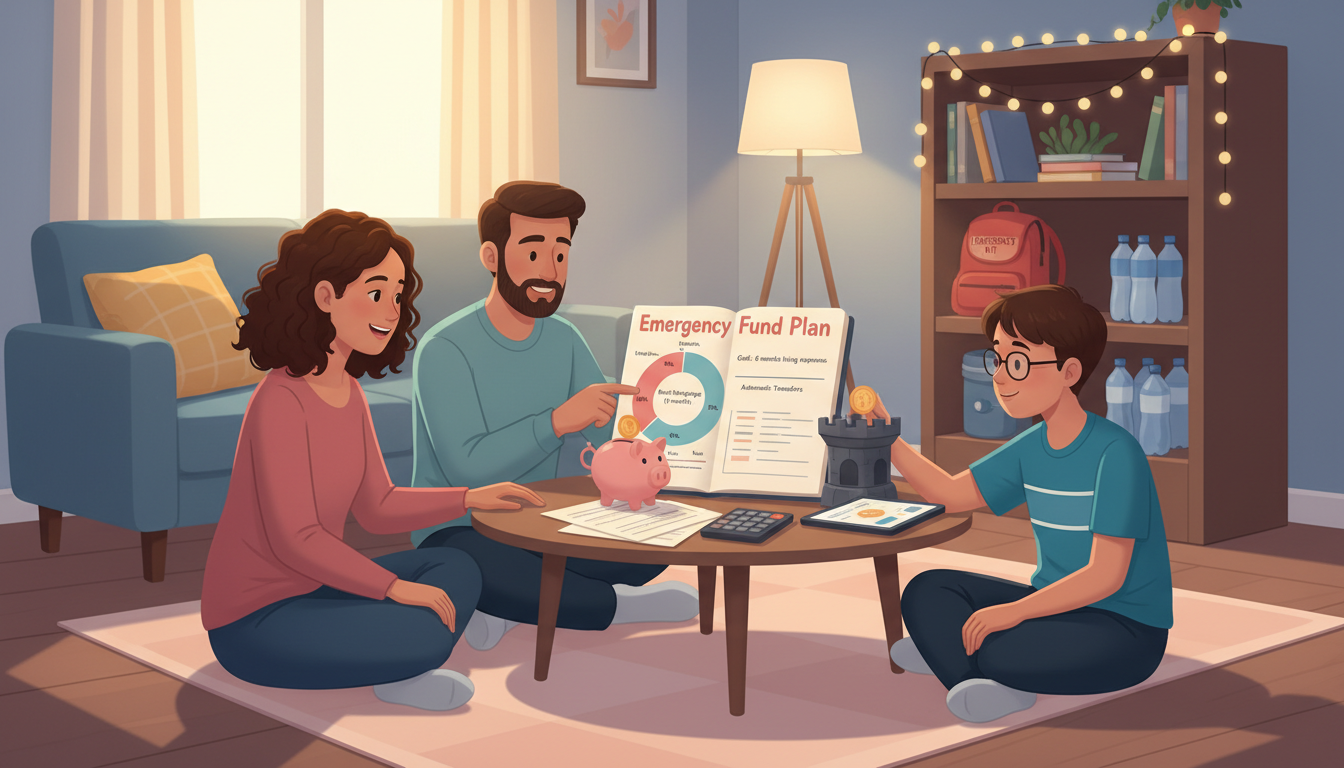
Building an emergency fund for prepping doesn’t mean choosing between a bug-out bag and a bank account. You can develop both at the same time. The key is having a plan that works with your current lifestyle and income.
Someone earning $50,000 per year might keep $500 in hard cash at home and $2,000 in a savings account. Someone earning $100,000 annually could maintain $3,000 on hand and $10,000 in the bank. The goal stays the same: cover one to six months of your normal living expenses.
This guide walks you through a practical 6-month roadmap. You’ll learn how to calculate your exact target amount. You’ll discover where hidden budget leaks drain your resources. Best of all, you’ll set up automatic systems that build your fund without constant effort.
True preparedness means balancing tangible supplies with financial strength. Let’s build both together.
Table of Contents
Why Financial Preparedness Is Just as Critical as Stockpiling Supplies
Most preppers focus on physical goods like food, water, and medical kits. These supplies offer real security in emergencies. But, many overlook the importance of financial security for emergencies. Without cash and emergency funds, even the best supplies can’t protect you from everyday crises.
Life can throw unexpected challenges. Your car might break down, or medical bills arrive unexpectedly. A well-stocked pantry won’t cover these costs. You need cash for car repairs, medical bills, and other emergencies.
The Hidden Vulnerabilities in Physical-Only Prepping
Preppers who only focus on physical supplies might find themselves financially weak. Physical and financial security go hand in hand. A good plan addresses both risks.
Real emergencies quickly show the weakness of focusing only on physical supplies. Here are some common expenses that require cash:
- Lodging during evacuation: $80 per night
- Vehicle repairs: $500 for unexpected brake work
- Medical care: $400 for doctor visits without insurance
- Home maintenance emergencies: $1,500 for water heater replacement
- Debris removal after storms: significant costs for professional hauling
Your supplies can’t pay these bills. Electronic payment systems can fail. ATMs go offline. Banks close. During the 2020 Nashville Christmas bombing, infrastructure damage knocked out ATMs and phone networks that banks depend on. Residents with physical cash purchased food and supplies. Those without liquid funds were stranded.
Real-World Scenarios Where Cash Outperforms Gear
Job loss shows why emergency funds are key. Losing income creates financial pressure. Your stored food helps, but it doesn’t replace paychecks. A solid emergency fund buys time to find new work, retrain, or adjust your situation. Gear alone cannot provide this stability.
Medical emergencies highlight another gap. Unexpected dental surgery costs $300 to $400. An urgent care visit runs $400 without insurance. These aren’t situations where MREs or water filtration systems help. You need cash, right now, to cover the bill.
Natural disasters and evacuation scenarios often require immediate spending. Gas for your vehicle. Motel rooms. Meals. Supplies you can’t find at home. A complete approach to preparedness for real-world scenarios means building financial reserves alongside your physical. Your emergency fund and your supplies work as a team, covering different types of risks and creating true readiness.
Financial preparedness isn’t a luxury addition to your prepping plan. It’s foundational. Start building both your cash reserves and your supplies today.
Calculate Your Emergency Fund Target Amount
Figuring out your emergency fund goal is simple math and self-assessment. Start by figuring out what you need each month to survive. This is your base for creating a survival budget. Once you know this, multiply it to find your target amount. This method makes financial planning easier during uncertain times.
The Simple Formula Every Prepper Should Know
The core calculation is simple: multiply your total monthly expenses by three. This gives you a minimum emergency fund. For a six-month goal, multiply by six. Let’s look at how this works in practice.
Consider someone with these monthly costs:
- Rent or mortgage: $2,500
- Utilities and bills: $400
- Groceries and food: $1,200
- Transportation: $350
- Insurance and other fixed costs: $550
Total monthly expenses: $5,000
Using the survival budget creation formula, your targets become clear:
| Time Frame | Calculation | Target Amount |
|---|---|---|
| Three months | $5,000 × 3 | $15,000 |
| Six months | $5,000 × 6 | $30,000 |
Start with three months as your first goal. This is achievable for many with a median salary. Once you reach this, aim for six months for better savings. Remember, only essential expenses count. Don’t include non-essential items like coffee or streaming services.
Adjusting Your Target Based on Family Size and Lifestyle
Your personal situation affects your emergency fund needs. A single person renting needs less than a family of four with a mortgage.
Adjust your calculation based on:
- Number of dependents you support
- Medical costs or prescription medications
- Pet care expenses
- Employment stability and income predictability
- Geographic location and associated costs
Self-employed individuals should aim for nine to twelve months of savings. Your income can change, making reserves key. Government employees with stable jobs can aim for three to six months. A single person earning $3,000 monthly with two children needs a different plan than someone earning the same amount alone.
Rural preppers face lower housing costs but higher transportation and utility costs. Urban dwellers have the opposite. Medical costs for a family member or pet add to your expenses. Calculate your true monthly expenses and adjust your target for higher-risk situations. Your personalized target guides your disaster preparedness savings.
How to Build an Emergency Fund for Prepping
Creating an emergency fund for preppers is a step-by-step process. Start with a clear plan and set monthly savings goals. This six-month plan helps you stay on track and motivated.
Begin by opening a separate savings account from your everyday money. This makes it easier to track your savings and avoid spending it. Consider using a different bank to keep it separate.

| Month | Key Actions | Target Amount |
|---|---|---|
| Month 1: Foundation | Audit bank statements, cut unnecessary expenses, open savings account, set up automatic transfers, sell 3-5 unused items | $2,500-$4,000 |
| Month 2: Build Habits | Start meal prepping, apply the 48-hour rule before purchases, cancel unused subscriptions | $5,000-$7,000 |
| Month 3: Optimize | Compare insurance rates, renegotiate phone and internet contracts, direct tax refunds to savings | $7,500-$10,000 |
| Month 4: Accelerate | Launch side income using prepper skills, continue selling items, upgrade to higher-yield savings account | $10,000-$12,500 |
| Month 5: Momentum | Maintain all habits, capture work bonuses and windfalls, stay consistent with contributions | $12,500-$14,000 |
| Month 6: Achievement | Reach your primary goal, evaluate next steps, decide on additional gear or continued savings | $15,000+ |
Month 1 focuses on immediate wins. Review your last three months of bank statements to find “silent leaks.” Cancel unused memberships and sell items you no longer need. These actions kickstart your savings plan.
Month 2 is about building lasting habits. Start meal prepping to save on food. Use the 48-hour rule for non-essential purchases. This stops impulse buying and makes saving automatic.
Month 3 brings optimization strategies. Shop around for better insurance rates. Call your service providers to negotiate lower rates. Direct tax refunds to your emergency fund.
Month 4 accelerates your progress significantly. Use your prepper skills to earn extra money. Sell items you no longer need. This adds hundreds of dollars to your savings each month.
Months 5 and 6 solidify your achievement. Keep your habits and capture windfalls. By month six, you’ll have a $15,000 emergency fund, covering three months of expenses.
Remember, progress isn’t always steady. Some months you’ll do better, others worse. An automated system keeps you on track. The key is setting up automatic transfers to grow your fund without relying on willpower.
Finding Extra Money Through Strategic Expense Audits
Many people think they can’t save money for prepping. But, almost everyone has hidden spending leaks. These small costs add up quickly, taking hundreds of dollars each month. That money could help build your emergency fund or buy essential supplies.
Start by reviewing your bank and credit card statements from the last three months. Look for spending patterns. Write down everything you notice. This detective work shows where your money goes.
Identifying Silent Budget Leaks That Drain Your Preparedness Resources
Subscriptions are a big drain on your budget. Services like Netflix, Spotify, and HBO seem cheap. But, they can cost up to one hundred fifty dollars a month.
Food spending offers big savings. Two restaurant lunches a week at thirty-five dollars each is two hundred eighty dollars monthly. Meal prep is much cheaper. A daily coffee habit at fifteen dollars a day is three hundred dollars monthly. A good thermos costs thirty dollars and pays for itself in one week.
| Spending Category | Monthly Cost | Annual Cost | Better Alternative |
|---|---|---|---|
| Streaming Services (Multiple) | $100-150 | $1,200-1,800 | Keep 1-2 essentials, cancel the rest |
| Restaurant Lunches (2x weekly) | $280 | $3,360 | Meal prep at home |
| Daily Coffee Shop Purchases | $300 | $3,600 | Brew at home with thermos |
| Unused Gym Membership | $50-80 | $600-960 | Home workouts or free outdoor activities |
| Impulse App Purchases | $30-50 | $360-600 | Wait 48 hours before buying |
Unused memberships cost real money. Gyms, clubs, and apps sit forgotten while charging your card monthly. Cancel anything you do not use. This saves fifty to eighty dollars per month for most people.
The 48-Hour Rule for Impulse Purchase Prevention
Impulse buying destroys prepping financial planning goals. When you want to buy something, wait two days before purchasing. This simple rule stops seventy percent of unnecessary spending.
Here is how it works:
- Feel the urge to buy something
- Wait forty-eight hours before clicking purchase
- Most items lose their appeal after two days
- Skip the purchase and save the money
Preppers need this rule. New gear always promises to solve problems. Tactical equipment and survival tools catch your attention. That forty-eight-hour pause stops you from buying things you do not actually need.
An expense audit combined with the forty-eight-hour rule finds five hundred to fifteen hundred dollars monthly. This comes without major lifestyle changes. You keep your quality of life while freeing up real money for emergency savings and true preparedness needs.
Automate Your Savings and Accelerate Fund Growth
The best way to build an emergency fund is through automation. By setting up automatic transfers from your paycheck, you avoid monthly decisions. Your money goes to savings before you spend it.
This “pay yourself first” method is effective because it’s automatic. You won’t forget or skip it, even when tempted by other purchases.
To start, pick a monthly amount that fits your budget. Even small amounts add up quickly over six months.
Open a separate savings account for your emergency fund. Keep it separate from your regular checking account. This makes tracking easier and helps you avoid using your safety net for other things.
Schedule an automatic transfer on payday or the day after. Let the system work for you while you focus on other prepping tasks.
| Monthly Transfer Amount | 6-Month Total | Coverage Level |
|---|---|---|
| $500 | $3,000 | Basic emergency buffer |
| $1,000 | $6,000 | One month of expenses |
| $1,500 | $9,000 | Six weeks of living costs |
| $2,000 | $12,000 | Two months of expenses |
| $2,500 | $15,000 | Three months of expenses |
Automation alone gets your fund growing. Windfalls, like tax refunds, can add a lot. Directing the entire refund to your emergency fund is wise.
Work bonuses should also go into your fund. Putting at least half of any bonus there speeds up your savings without hurting your daily life.
Selling unused gear boosts your fund. You can make $500 to $2,000 by selling duplicate equipment or outdated technology. Use platforms like eBay or Facebook Marketplace. Freelance work or consulting can add thousands in a short time. Every extra dollar makes your financial security stronger.
- Set up automatic transfers on payday
- Direct tax refunds entirely to your emergency fund
- Allocate at least 50% of work bonuses to savings
- Sell unused prepping gear and supplies
- Pursue side income for two months to accelerate growth
Automation takes the emotional side out of saving. You won’t have to decide each month. Your fund grows silently while you sleep. This method makes building an emergency fund simple, sustainable, and stress-free. The system does the hard work for you.
Smart Storage Strategies for Physical Cash and Liquid Assets
Building cash reserves for SHTF scenarios means more than just hiding money under your mattress. You need a two-part plan. Keep most of your money in a high-yield savings account at your bank. Use physical cash at home for quick access when ATMs and banks fail.
This balanced approach helps you handle different emergencies. If you lose your job, bank cash helps you get more money. If a natural disaster hits, having cash at home is key when everything else stops working.
Consider splitting your emergency fund. Put 10 to 20 percent in physical cash at home. Keep the rest in liquid accounts for when things get back to normal. Both types of cash reserves serve important purposes. Physical money doesn’t need electricity or internet. Bank money gives you a bigger cushion for longer emergencies.
Optimal Denomination Mix for Emergency Situations
Don’t fill your go-bag with one-dollar bills and fives. They’re too heavy and take up too much space. Instead, use bills that offer the best value for their weight. The $100 bill is your best friend here. It lets you carry a lot of money without being too heavy.
Every US bill weighs exactly one gram. So, $5,000 in cash weighs about 2.35 ounces. This makes your cash reserves for SHTF scenarios light and easy to carry.
Here’s a smart way to break down $2,000 in physical cash:
- $1,400 in $100 bills (14 notes)
- $500 in $20 bills (25 notes)
- $100 in $10 bills (10 notes)
This mix solves real problems. Vendors might not take a $100 bill for a $15 item. Twenty-dollar bills work better for everyday purchases. Ten-dollar bills give you flexibility for smaller transactions. Together, they are very compact.
| Amount Stored | Primary Bills | Secondary Bills | Weight (Ounces) | Height (Inches) |
|---|---|---|---|---|
| $2,000 | 14 × $100 bills | 25 × $20 bills, 10 × $10 bills | 2.1 | 6/16 |
| $5,000 | 43 × $100 bills | 8 × $50 bills, 15 × $20 bills | 2.35 | 3/8 |
| $10,000 | 86 × $100 bills | 16 × $50 bills, 30 × $20 bills | 4.7 | 3/4 |
Concealment Techniques That Keep Your Cash Secure
Your cash doesn’t need military-grade security. It just needs to be a bit harder to find. Most thieves look for easy scores. Make your money a bit inconvenient to find, and they’ll look elsewhere.
Spread your cash reserves for SHTF scenarios across multiple hiding spots. Don’t put everything in one safe. If someone finds one location, you’ll have other caches. Store some cash at home, some in your vehicle, and some in your go-bag. Variety keeps you safe.
Protect your physical money from water damage with waterproof bags. Ziploc bags work great. Good news: the government replaces damaged bills. As long as you have 50 percent of the original note, you can swap it for a fresh one at any bank.
For home storage, bolt safes to floor joists or wall studs. Thieves can’t simply carry away a bolted safe. Consider concealment furniture with hidden compartments. Books with hollowed centers work. False-bottom drawers work. Get creative, but avoid obvious spots like mattresses and freezers. Thieves check those first.
When you’re out and about, use specialized gear for carrying cash. The Eagle Creek Hidden Pocket hangs inside your pants from a belt loop. Your real money stays completely invisible. Carry a decoy wallet in your back pocket with $20 and expired cards. If someone confronts you, hand over the fake wallet. Your emergency cash stays safe.
- Distribute cash across multiple locations at home
- Use waterproof containers to prevent water damage
- Bolt safes to immovable structures
- Hide cash in unexpected places like hollowed books
- Carry cash in hidden pockets, not your regular wallet
- Keep a decoy wallet with minimal money
- Avoid cliché hiding spots thieves know about
Your cash reserves for SHTF scenarios represent your financial security when normal systems fail. Store them smart. Keep them safe. Your emergency fund should work for you, not against you.
Conclusion
Creating a solid emergency fund in six months is doable. It requires three main steps: figure out how much you need, find where money leaks, and set up automatic savings. Begin with what you can afford, even if it’s just $500. Every dollar saved is a step towards being ready for emergencies.
Being prepared means having both physical supplies and money. Food and gear protect you from some dangers. But, money is needed for unexpected costs like job loss or medical emergencies. Having both food and money creates a strong safety net.
The biggest challenge is waiting for the perfect time to start. But, there’s never a perfect time. Start building your financial safety today. Use smart money-saving tips and adjust your savings plan as needed.
Having financial security for emergencies changes your life. You feel more secure because you can handle unexpected costs. Your hard work and planning make you ready to build this foundation. Dedicate the same effort to your financial goals as you do to your physical preps.
FAQ
Why is an emergency fund more important than buying additional prepping supplies?
An emergency fund and prepping supplies serve different needs. Your food won’t pay your bills, and your water filter can’t cover medical costs. You need cash for unexpected expenses like car repairs and dental bills.
True preparedness means having both cash and supplies. You can’t eat bullets, and gold coins won’t pay your rent. A balanced approach is key.
How much should I save for my emergency fund target?
Start by multiplying your monthly expenses by 3 or 6. For example, if you spend ,000 monthly, aim for ,000 to ,000. This covers your basic needs during emergencies.
Self-employed people and those with variable income should aim for 9-12 months. Those with stable jobs might be okay with 3-6 months. Your target depends on your family and income.
How can I find money to save when I feel like I don’t have anything extra?
Look for small expenses that add up. Subscription services and daily coffee can cost a lot. Cutting these expenses can free up 0-1,500 monthly for savings.
Identify these leaks by reviewing your bank statements. This will help you find money for your emergency fund.
What is the 48-hour rule and how does it help with emergency fund building?
The 48-hour rule helps you avoid impulse buys. It prevents you from buying unnecessary items. This rule helps you save 0-1,500 monthly for your emergency fund.
It’s not about deprivation. It’s about saving money for real needs.
How does automation make emergency fund building easier?
Automation helps you save without thinking. Set up automatic transfers from your checking to a savings account. This way, you save consistently, even when you’re busy.
Even small amounts add up. For example, 0 monthly can grow to ,000 in six months. This makes saving easier and less stressful.
How can windfalls accelerate my emergency fund growth?
Use windfalls like tax refunds and bonuses for savings. Directing these funds to your emergency fund can quickly grow your savings. This can cut your savings time in half.
Side jobs and selling unused gear can also add to your fund. This way, you can save more without sacrificing your daily needs.
What percentage of my emergency fund should be physical cash versus bank savings?
Keep 10-20% of your emergency fund in cash at home. The rest should be in a high-yield savings account. This way, you have immediate access to cash and your savings are protected.
This balance ensures you’re prepared for different emergencies. You have cash for immediate needs and savings for longer crises.
What’s the best way to organize physical cash denominations for emergencies?
Use a mix of 0, , and bills. This makes it easier to make various purchases. It also keeps your cash compact and easy to hide.
For example, ,000 in cash can be carried in a small space. This makes it convenient for emergencies.
How should I conceal and secure physical cash at home?
Use creative hiding spots to protect your cash. Hollowed-out books and false-bottom drawers work well. Use waterproof bags to keep your cash dry.
Keep your cash in multiple spots to limit losses if one is found. Use hidden pockets and decoy wallets to carry cash safely.
How often should I recalculate my emergency fund target?
Recalculate your emergency fund every six months. Life changes like new family members or job changes affect your expenses. Adjust your savings amount to keep up with your needs.
For example, if your expenses increase, you may need to save more. This ensures your emergency fund stays relevant to your current situation.
What qualifies as a genuine emergency for using my fund?
Define what constitutes an emergency to avoid unnecessary spending. Legitimate uses include job loss, medical emergencies, and major repairs. Non-emergency uses like vacations should not tap your fund.
Use your fund wisely to maintain financial security. Replenish it as soon as possible to keep your savings intact.
Can I invest my emergency fund in stocks or cryptocurrency for higher returns?
No, your emergency fund should be in liquid, safe accounts. Investing in stocks or cryptocurrency is risky. You may need your money when markets are down.
Keep your emergency fund in accounts that offer 4-5% returns. This way, you have immediate access to your money without risking it.
How does emergency fund building prevent panic during actual emergencies?
Having a funded emergency fund changes how you handle crises. It prevents panic and allows for rational decision-making. You can explore job options or address health issues properly.
It also reduces daily stress and boosts your confidence. This combination of financial and physical preparedness creates genuine security.
What’s the first action I should take today to start building my emergency fund?
Open a dedicated savings account at a separate bank. Choose an account with competitive interest rates. This step takes just 15 minutes and costs nothing.
Set up your first automatic transfer, even if it’s just 0. Start today, no matter how small the amount. Consistency is key.
How does emergency fund building prevent panic during actual emergencies?
Having a funded emergency fund changes how you handle crises. It prevents panic and allows for rational decision-making. You can explore job options or address health issues properly.
It also reduces daily stress and boosts your confidence. This combination of financial and physical preparedness creates genuine security.