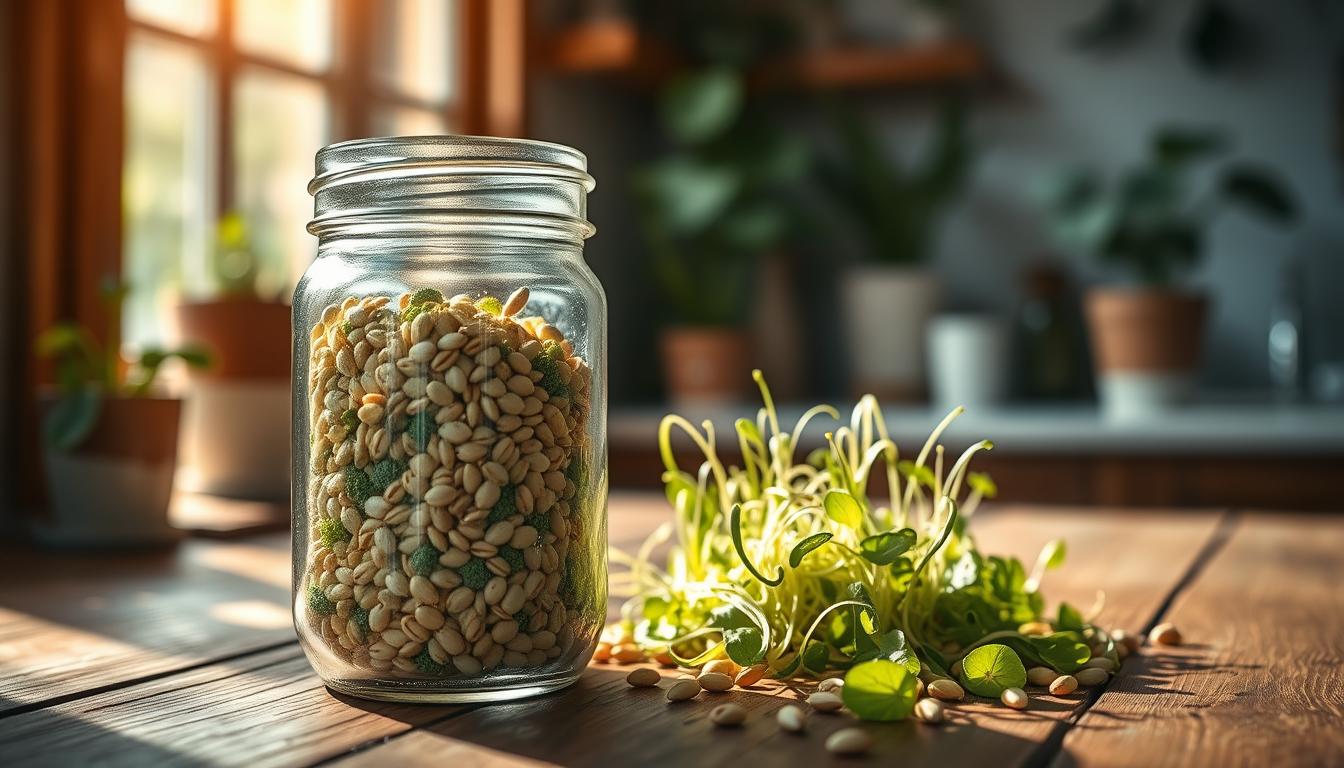
When disaster hits, people often think of canned goods and freeze-dried meals. These foods last a long time but lack fresh nutrition. Sprouting seeds offer a solution. You can grow sprouts on your kitchen counter in just three days, no garden or electricity needed.
Sprouting seeds are seeds that start growing easily. They should be part of your emergency plan. Sprouts have vitamins ten times higher than the original seed. They give your body lots of nutrition from little resources.
Learning to sprout seeds for emergencies is easy. You need a jar, water, and just five minutes a day. This method gives you fresh food that grows as you need it. It’s perfect for anyone, whether you’re new to gardening or experienced.
This guide will teach you all about sprouting seeds for emergencies. You’ll learn which seeds are best and how to sprout them. You’ll also find out how to store seeds for years and keep your sprouts safe and healthy.
Sprouting seeds changes how we think about disaster readiness. It shows that survival food can include fresh vegetables. Sprouting seeds prove that growing food and emergency preparedness can go together.
Table of Contents
Why Sprouting Seeds Are Essential for Emergency Preparedness
When disaster hits, having fresh food is key. Most emergency kits have canned goods and dried foods. These items keep you alive but lack the nutrients your body needs.
Sprouting seeds for survival is a smart solution. It turns dried seeds into fresh, nutrient-rich food in just days. The sprouting process boosts enzymes and vitamins, making it a superfood. Unlike gardening or emergency food sprouting techniques, sprouting needs little space, no equipment, and minimal effort.
The Nutritional Powerhouse of Fresh Sprouts
Sprouts pack a big nutritional punch in a small package. They release vitamins at levels about 10 times higher than mature seeds. They offer:
- Vitamins A, B, C, and E in high amounts
- Fiber for a healthy gut
- Protein for energy and muscle repair
- Minerals for body functions
Vitamin C is vital during emergencies. Most shelf-stable foods lose it over time. Sprouts, on the other hand, produce it, acting as a natural supplement.
Growing Food Without Soil, Sunlight, or Electricity
Sprouting seeds without electricity is easy. You don’t need soil, a garden, or special lights. A kitchen counter with moderate light is perfect. It works in apartments, basements, or any indoor spot with water.
The care is minimal:
- Less than five minutes daily
- Just water for rinsing and hydration
- No fertilizer needed
- No weeding or pest control
- No outdoor space required
Ready to Harvest in Just Three Days
Sprouts grow fast, unlike other vegetables. They’re ready in three to ten days. This speed makes them unique:
| Vegetable Type | Time to Harvest |
|---|---|
| Sprouts | 3-10 days |
| Sunflower shoots | 12 days |
| Radishes | About 3 weeks |
| Lettuce | About 30 days |
In emergencies, sprouts are the best choice. They turn emergency preparedness into living nutrition in just three days. This makes sprouting seeds for survival a key skill for families needing real food security.
Understanding Sprouting Seeds and Their Benefits
First, learn what sprouting seeds are for a good disaster plan. These are regular seeds that come to life with water and air. They turn their stored food into nutrients quickly. In a few days, you get a fresh, healthy food source.
It’s easy to sprout seeds. You don’t need special seeds. Just use the ones from health stores or grocery stores. Alfalfa, broccoli, and mung beans are good examples. They all grow the same way and offer different health benefits.
When seeds sprout, they become super nutritious. Vitamin C and B vitamins increase a lot. Antioxidants also grow. Plus, they become easier to digest.
Knowing sprouts vs microgreens helps pick the best for emergencies. Here’s a comparison:
| Growing Method | Sprouts | Microgreens |
|---|---|---|
| Growing Medium | Water only | Soil |
| Growing Time | 3-5 days | 7-21 days |
| Light Required | No light needed | Requires light |
| Parts Eaten | Entire seed and shoot | Stem and leaves only |
| Harvest Method | Simple jar rinsing | Scissors cutting |
Sprouts are great for power outages. They need no electricity or sunlight. Just water, a container, and a bit of space.
Sprouts grow fast, making them perfect for emergencies. In just three days, you have fresh, healthy food. This quick growth means you can have nutritious food without relying on dry goods.
- Sprouts contain activated enzymes that aid digestion
- Vitamin content increases up to 300% during sprouting
- The entire seed is consumed, providing complete nutrition
- No soil, electricity, or special lighting needed
- Ready to harvest in just three to five days
Sprouts are packed with nutrients in a small package. You eat the whole seed, getting all the plant’s nutrients. This makes sprouting seeds the best choice for emergencies when food is scarce.
How to Sprout Seeds for Emergencies
Starting to sprout seeds for emergencies is simple. The right tools and knowledge are key. This guide will help you choose the best equipment, pick the right seeds, and follow a simple process.
Choosing Your Sprouting Container and Equipment
Choosing the right sprouting equipment is important. Many wonder if they should make their own or buy it. But, buying sprouting trays is cheaper and works better than DIY versions.
For beginners, a simple setup works well. Use mason jars with mesh lids. This keeps sprouts in and water out. Make sure the jar is tilted so water drains.
For growing more, use stackable trays. These let you grow different types of sprouts at once. Three trays, each 8×10 inches, can produce a lot of greens. Each tray should be 5-6 inches in diameter and have drainage.
| Sprouting Equipment Type | Best For | Drainage Setup | Cost Range |
|---|---|---|---|
| Mason Jar with Mesh Lid | Beginners, small batches | Angled jar mouth-down | $5-$15 |
| Single Sprouting Tray | Moderate production | Built-in water catch beneath tray | $8-$20 |
| Stackable Multi-Tier Trays | Large quantities, multiple varieties | Water drips through levels | $30-$50 |
| Four-Tier Sprouting System | Maximum variety production | Automated drainage between levels | $40-$75 |
Choose containers that let light in. Make sure there’s space for water to collect. Good drainage stops mold and bad smells.
Selecting the Best Seeds for Emergency Nutrition
Not all seeds are good for sprouting. You need food-grade seeds labeled for sprouting. Garden seeds may have chemicals that are not safe to eat.
Popular seeds include alfalfa, broccoli, mung beans, and radish. Each adds different nutrients to your emergency food. When you sprout seeds, you get fresh vitamins and minerals quickly.
- Small seeds (alfalfa, broccoli): Start with 1-2 teaspoons per jar
- Medium seeds (radish, mustard): Use 1-2 tablespoons
- Large seeds (mung beans, lentils): Use 2-3 tablespoons
Start small to learn. One teaspoon of tiny seeds can fill a jar in days. You can always grow more as you get better.
Step-by-Step Sprouting Process
This guide breaks down sprouting into easy steps. Sprouting is simple and reliable.
- Choose your seeds: Pick food-grade sprouting seeds only
- Measure your portion: Use the amounts listed above based on seed size
- Rinse thoroughly: Wash seeds in a clean jar with cool water
- Soak overnight: Small seeds need 4-8 hours; larger seeds need 8-12 hours in water
- Drain completely: Pour out all water and angle your jar so no moisture stays inside
- Rinse and drain daily: Do this 2-3 times per day. In hot weather, rinse three times
- Keep conditions right: Leave at room temperature away from direct sunlight
- Watch for readiness: In 3-5 days, sprouts should show short shoots and tiny leaves
- Do a final rinse: Rinse well and remove seed hulls if desired
- Store properly: Keep in the refrigerator in a clean container with a loosely placed paper towel
Look for signs that your sprouts are ready. They should be plump, smell fresh, and have tiny green leaves. They should never smell sour or moldy.
The sprouting process takes just minutes a day. Rinsing is quick. You’ll be amazed at how fast you get fresh nutrition, even when stores are closed.
Best Sprouting Seeds for Long-Term Storage and Quick Growth
Choosing the right seeds is key for your emergency food supply. The best seeds for emergency sprouting are nutritious, grow fast, and are reliable. They ensure your family stays healthy during tough times. Here are the top sprouting varieties to keep in your pantry.
Alfalfa Seeds for Vitamin C
Alfalfa is a top choice for beginners. These seeds are packed with vitamin C, boosting your immune system. One pound of alfalfa seeds can grow into seven pounds of sprouts, stretching your supplies.
Alfalfa sprouts taste mild and slightly nutty. They’re great in salads or added to meals. They’re ready to harvest in four to five days, perfect for emergencies.
Broccoli Seeds for Protein and Fiber
Broccoli sprouts are very nutritious. They contain sulforaphane, a compound that strengthens your body. They’re rich in protein and fiber, keeping your energy up during stressful times.
Broccoli sprouts have a mild peppery taste. They’re ready in three to five days. This makes them great for your emergency food storage.
Mung Beans for Calories and Energy
Mung beans are high in calories and protein. They provide over 200 calories and fourteen grams of protein. They’re among the fastest sprouting seeds, ready in two to four days.
Mung beans are easy for beginners. They produce thick, crunchy sprouts. These sprouts are great in salads, stir-fries, and soups, making them perfect for emergencies.
Additional Sprouting Seed Options
Consider these reliable choices too:
- Radish seeds grow in three to four days and bring slightly spicy flavor plus antioxidants and vitamin C
- Lentils sprout in two to four days and offer more protein than many smaller seeds, working well in soups
- Red cabbage sprouts provide rich antioxidants alongside vitamins C and K
| Seed Variety | Growth Time | Key Nutrients | Flavor Profile |
|---|---|---|---|
| Alfalfa | 4-5 days | Vitamin C | Mild, slightly nutty |
| Broccoli | 3-5 days | Protein, fiber, sulforaphane | Mildly peppery |
| Mung Beans | 2-4 days | Calories, protein, minerals | Mild, slightly sweet |
| Radish | 3-4 days | Antioxidants, vitamin C | Slightly spicy |
| Lentils | 2-4 days | Protein, fiber | Earthy, mild |
Try different sprouting varieties to find your family’s favorites. Having a mix of shelf-stable sprouting seeds means you’ll always have fresh, nutritious food ready.
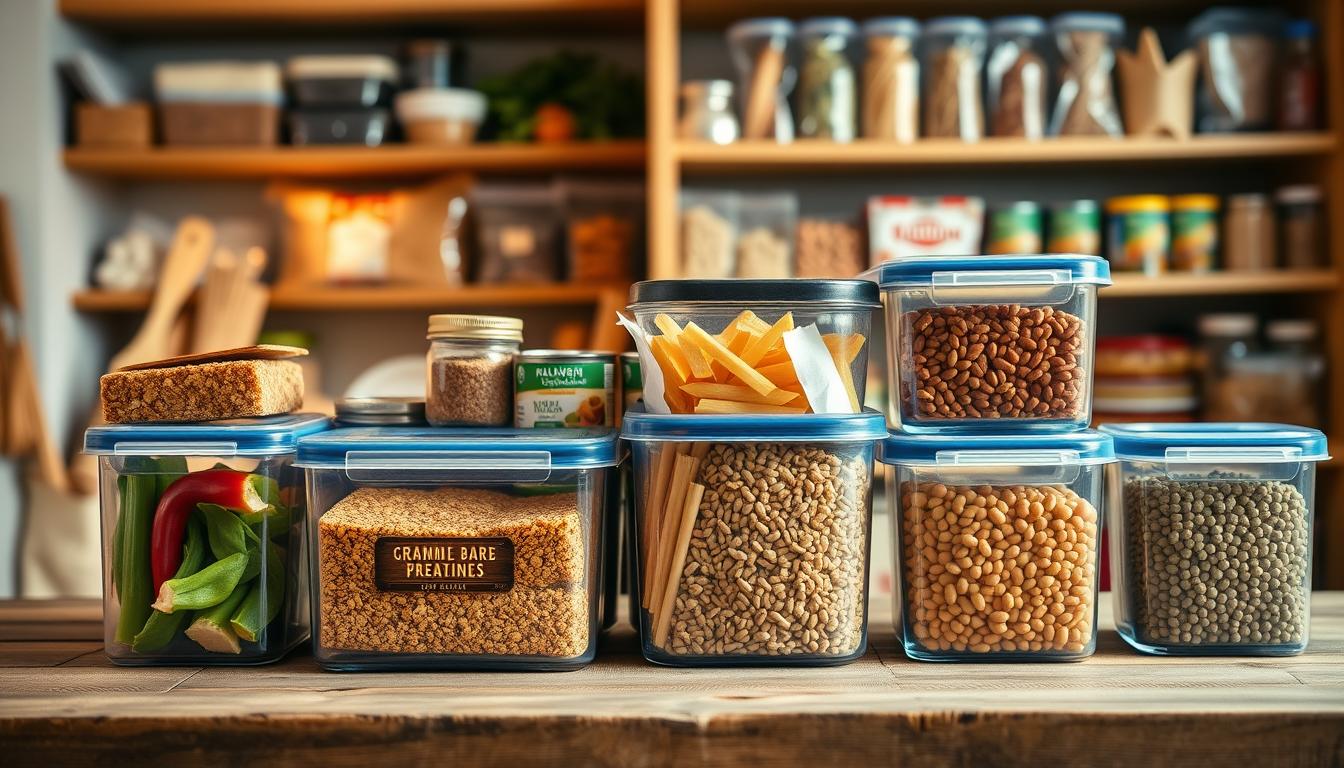
Storing Sprouting Seeds for Extended Shelf Life
Keeping your sprouting seeds fresh is key for emergencies. Most seeds stay good for 2 to 5 years if stored right. It’s important to know seeds don’t go bad on a specific date. Their ability to sprout weakens over time.
Shelf-stable sprouting seeds can last longer with the right storage. Think of seed viability like a dimming light bulb. Seeds need darkness to stay strong, while sprouts need light to grow.
Four main factors control sprouting seed shelf life. These elements work together to keep your seeds ready when you need them most:
- Container Type: Use airtight mason jars or food-grade buckets with tight seals
- Temperature: Keep seeds below 70°F in cool pantries, basements, or refrigerators
- Humidity: Maintain low moisture levels away from damp environments
- Light: Store in dark locations away from direct sunlight
For long-term seed storage for sprouting, different methods work best. Short-term storage is good in standard mason jars in your pantry. Refrigeration can double seed lifespan. Freezing dry seeds can extend shelf life 4 to 5 times.
| Storage Method | Temperature Range | Expected Shelf Life | Best For |
|---|---|---|---|
| Mason Jar in Pantry | 60-75°F | 2-3 years | Regular emergency use and accessibility |
| Refrigerated Container | 35-45°F | 3-5 years | Extended storage with minimal investment |
| Freezer with Oxygen Absorbers | 0°F or below | 5-10 years | Maximum long-term seed storage for sprouting |
| Food-Grade Bucket Sealed | 50-70°F | 3-5 years | Bulk storage and large quantities |
Oxygen absorbers are key for storing seeds for emergencies that need to last many years. These small packets remove oxygen from sealed containers, slowing seed aging dramatically. Drop an oxygen absorber into a food-grade bucket, seal it tight, and your seeds stay fresher far longer.
Different seed types have different staying power. Alfalfa, broccoli, and clover seeds often stay viable toward the longer end of the range. Larger legumes like lentils and mung beans gradually lose germination strength after several years, so prioritize using older batches of these seeds first.
Test older seeds before an actual emergency strikes. Use a simple paper towel germination test: place 10 seeds on a damp paper towel, roll it up, and keep it moist in a warm spot for a few days. Count how many seeds sprout. If 8 or more sprout, your seeds are fine. Less than that means your batch is losing vigor.
Once you harvest fresh sprouts, they last only 3 to 7 days in your refrigerator. Maximize their freshness by rinsing and draining them thoroughly before storing. Place sprouts in a breathable container or loosely covered jar instead of airtight containers that trap moisture and cause mold. A paper towel inside the container absorbs excess water and keeps your sprouts crisp and safe to eat.
Proper storage requires minimal effort but delivers enormous peace of mind. Investing time now to organize your sprouting seed supply means guaranteed fresh nutrition when you need it most.
Safety Tips and Common Sprouting Problems to Avoid
Growing sprouts at home is a great way to get fresh nutrition when times are tough. It’s important to follow basic safety rules to keep your sprouts clean and healthy. Most problems come from moisture or contamination, not the sprouting itself. Knowing how to avoid these issues is key.

Preventing Mold and Bacterial Growth
Sprouts grow in warm, wet conditions. This can lead to bacterial growth if your seeds are old or if you don’t keep things clean. The good news is that most contamination starts with the seeds, not your jar. Because you eat sprouts raw, it’s vital to handle them carefully.
Buy high-quality seeds from food-grade suppliers. Use clean hands, water, and equipment. Rinse your sprouts well and drain them completely after each rinse. Smell your sprouts before eating them. Store finished sprouts in the refrigerator right away.
Certain people should be careful with raw sprouts:
- Pregnant women
- Young children
- Older adults
- People with weak immune systems
These groups can cook their sprouts to make them safer to eat.
Proper Rinsing and Drainage Techniques
Good drainage is critical for preventing mold in sprouts. Water sitting in your jar causes rot and bacterial problems. Rinse your sprouts two to three times every day. After each rinse, tilt your jar at an angle so all water drains out completely.
| Problem | Cause | Solution |
|---|---|---|
| Seeds won’t sprout | Old seeds or wrong water temperature | Use fresh seeds and room temperature water |
| Bad smell | Poor drainage or standing water | Rinse 2-3 times daily and drain completely |
| Visible mold | Too much moisture or contaminated seeds | Start over with clean equipment and new seeds |
| Slow growth | Room temperature too cold | Keep sprouts between 65-75°F |
Many beginners worry about white fuzz on their sprouts. Root hairs are normal and look like tiny white fuzz near the root tip. They spread evenly and disappear when you rinse. Real mold looks different. It forms in patches, appears gray or web-like, and smells bad. Mold spreads across multiple seeds quickly.
Bad odors tell you something needs fixing. They happen when sprouts aren’t drained well, sit in standing water, don’t get rinsed enough, or your room is too warm. Fix this by rinsing more often and draining completely. Store finished sprouts in the refrigerator right away to stop bad smells.
Following these sprouting safety steps keeps your emergency food sprouting techniques working well. You’ll grow healthy, safe sprouts every time.
Conclusion
Sprouting seeds on your kitchen counter is easy and effective. It’s a great way to grow fresh, nutritious food when it’s needed most. Seeds are a key part of any emergency plan because they provide vital nutrition when fresh food is scarce.
Seeds can stay fresh for years if stored properly. They turn into edible sprouts in just three to five days. The best part? You don’t need a garden, soil, electricity, or special equipment to do it.
Sprouting seeds offers amazing health benefits. Fresh sprouts have vitamins ten times more concentrated than regular seeds. Starting to sprout for emergencies means you have access to living nutrition that canned and freeze-dried foods can’t match.
When supply chains fail or stores close, you can produce fresh nutrition. This knowledge brings peace of mind during uncertain times.
Your sprouting guide begins with a simple step. Start with one mason jar and one type of seed. Master alfalfa or mung beans first. Once you’re confident, add more varieties to your collection.
Sprouting works well during power outages because it doesn’t need electricity. Build your skills slowly. Practice now so you’re ready when an emergency happens. This skill is also healthy for everyday life, making it a habit you can refine before it’s needed.
Take action this week. Order your first sprouting seeds from a trusted supplier like Mountain House or Territorial Seed Company. Get a clean mason jar. Start your first batch today.
The investment is small, but the reward is huge. Your family deserves fresh nutrition now and in the future. Start your sprouting journey now.
FAQ
How long does it actually take to grow sprouts from seeds?
Most sprouting seeds are ready in 3 to 5 days. Mung beans sprout in 2 to 4 days. Alfalfa seeds take 4 to 5 days. This makes sprouting a quick way to get fresh food during emergencies.
Other fast-growing veggies like sunflower shoots take 12 days. Radishes take 3 weeks, and lettuce takes about 30 days. Sprouting is the fastest way to get fresh food in emergencies.
Do I need special equipment or a garden to grow sprouts?
No special equipment or garden is needed. Sprouting needs no soil, sunlight, electricity, or outdoor space. It’s perfect for apartment dwellers or those facing power outages.
You can start with a mason jar and a mesh lid for just a few dollars. More elaborate setups are optional. Sprouting works in any indoor spot—a kitchen corner, closet, or cupboard.
What nutritional benefits do sprouts provide that regular seeds don’t?
Sprouts are packed with vitamins A, B, C, and E, much more than mature seeds. They’re one of the most nutrient-dense foods. Sprouting turns starches and proteins into nutrients and energy.
Anti-nutrients like phytic acid are reduced, making sprouts easier to digest. Vitamin C is key during emergencies for immune support. Sprouts are tiny but mighty for health.
Are sprouting seeds the same as regular garden seeds?
No, sprouting seeds are different from garden seeds. Use food-grade sprouting seeds, not garden seeds treated with chemicals. Sprouting seeds are the same variety as garden seeds but are safe to eat.
Always buy from reputable suppliers for safety and success. This is important for both safety and success rates.
How do sprouts differ from microgreens and seedlings?
Sprouts, microgreens, and seedlings are different. Sprouts are the fastest, needing 3 to 5 days and no growing medium. You eat the whole sprout, including the seed.
Microgreens take 10 to 14 days, need a growing medium, and require light. Seedlings take 3 to 4 weeks or longer. Sprouts are best for emergencies because they’re fast, require little, and are nutritious.
What are the best sprouting seeds to stock for emergency preparedness?
Alfalfa seeds, broccoli seeds, and mung beans are top picks for emergencies. Alfalfa seeds support the immune system, have high vitamin C, and are easy to grow.
Broccoli seeds have a great nutritional profile and are high in sulforaphane. Mung beans are calorie-dense and protein-rich, making them essential for emergencies. Other good options include radish, lentils, and red cabbage sprouts.
How long can I store sprouting seeds before they lose germination ability?
Most sprouting seeds stay viable for 2 to 5 years. They don’t suddenly lose viability at an expiration date. Proper storage is key.
Use airtight containers, keep them cool, and maintain low humidity. Refrigeration or freezing extends their life. Test older seeds for viability with a paper towel germination test.
How do I store fresh sprouts after harvesting them?
Fresh sprouts last 3 to 7 days in the fridge. Rinse them well and let them drain. Store them in breathable containers to prevent moisture buildup.
Use paper towels to absorb excess moisture. Keep them away from standing water. Check them daily and remove any spoiled sprouts. Proper storage ensures they stay fresh for a week.
Are home-sprouted seeds safe to eat, or is there a risk of foodborne illness?
Home-sprouted seeds are safe when done right. While sprouts can be associated with illness, proper practices minimize risk. Contamination usually comes from the seeds, not the sprouting process.
Buy high-quality, food-grade seeds from reputable suppliers. Maintain cleanliness and use clean water. Certain groups should cook their sprouts. With basic precautions, sprouting is safe and nutritious.
What does proper drainage look like, and why is it so important?
Proper drainage means sprouts are damp but not in water. This prevents rot and bacterial growth. Rinse sprouts 2 to 3 times daily, ensuring complete drainage.
Water should flow freely from the drainage holes. Frequent rinsing removes bacteria and maintains moisture. Proper drainage prevents mold, bad odors, and poor growth.
How can I tell the difference between normal root hairs and mold on my sprouts?
Normal root hairs are fine, thin, and white. They’re a sign of healthy growth. Mold, on the other hand, is fuzzy, thick, and white or colored.
It covers the sprouts or container. If your sprouts smell musty or have a bad odor, it’s mold. Root hairs smell fresh. If you see normal root hairs and no bad smells, your sprouts are fine.
What causes bad odors in sprouting jars, and how do I prevent them?
Bad odors usually mean bacterial growth due to poor drainage. The warm, moist environment becomes anaerobic, perfect for bacteria. Prevention is simple: ensure complete drainage, rinse frequently, and keep equipment clean.
If you notice a sour or musty smell, increase rinsing or improve drainage. Healthy sprouts have no noticeable odor or smell slightly sweet. Trust your nose—if it smells wrong, it probably is.
Can I use tap water for sprouting, or do I need special water?
Tap water is fine for most areas. You don’t need special water. Just use clean tap water for soaking and rinsing.
If your tap water is heavily chlorinated, let it sit for a few hours to evaporate chlorine. Some prefer cooler water in hot weather to prevent bacterial growth. Clean water and proper drainage ensure safe sprouting.
How much space do I need to sprout a significant quantity of seeds?
Sprouting requires minimal space. A single mason jar can produce a lot of sprouts. You can stack multiple jars in a small space.
If you want more, use multi-tier stackable trays. Even in a small apartment, you can have a robust sprouting operation. Sprouting is great for emergencies when space is limited.
Should I grow sprouts in darkness or in light?
Sprouts don’t need light to grow. They can sprout in complete darkness. Unlike microgreens and seedlings, sprouts are harvested early and don’t need light.
You can sprout in a dark cupboard, closet, or drawer. Darkness can provide consistent temperature. Sprouting works anywhere in your home, regardless of light.
What temperature is ideal for sprouting, and what happens if it gets too hot or cold?
The ideal temperature is between 60°F and 75°F. This supports healthy germination without excessive bacterial growth. Cooler temperatures slow sprouting, while warmer temperatures speed it up but increase risk.
During summer emergencies, increase rinsing or move sprouts to a cooler place. In winter, growth slows. Aim for consistency and proper drainage, not perfect temperature. Your sprouts will thrive.
Can I eat sprouts raw, or should I cook them during emergencies?
Sprouts can be eaten raw or cooked. Raw sprouts are nutritious and don’t need fuel for preparation. They’re ideal for emergencies when cooking fuel is limited.
Cooked sprouts are safer for vulnerable groups. If you’re concerned, boil or lightly sauté them. Both raw and cooked sprouts are nutritious. Sprouting is flexible for any situation.
How do I know when my sprouts are ready to harvest?
Readiness varies by seed variety. Look for a tail or root about the same length as the seed. Alfalfa seeds are ready when a small white tail emerges and tiny leaves develop.
Broccoli sprouts are ready when the root tail is 1/4 to 1/2 inch long and the first cotyledons are visible. Mung beans are ready when the sprout tail is 1/4 to 1/2 inch long. Visual inspection and your sprouting timeline are the best indicators. Refrigerate them immediately to slow growth and extend freshness.
What’s the shelf-life difference between stored seeds and prepared sprouts?
Stored sprouting seeds last 2 to 5 years. They’re a long-term insurance for emergencies. Fresh sprouts, on the other hand, last only 3 to 7 days in the fridge.
This means sprouting is a “on-demand” production system. During extended emergencies, you can store shelf-stable seeds and sprout fresh ones when needed. This approach ensures a steady supply of fresh nutrition.