You don’t need to spend thousands to keep your family safe. Emergency preparedness is affordable for every home in America. With $10 to $20 a week, you can stock up on essential supplies.
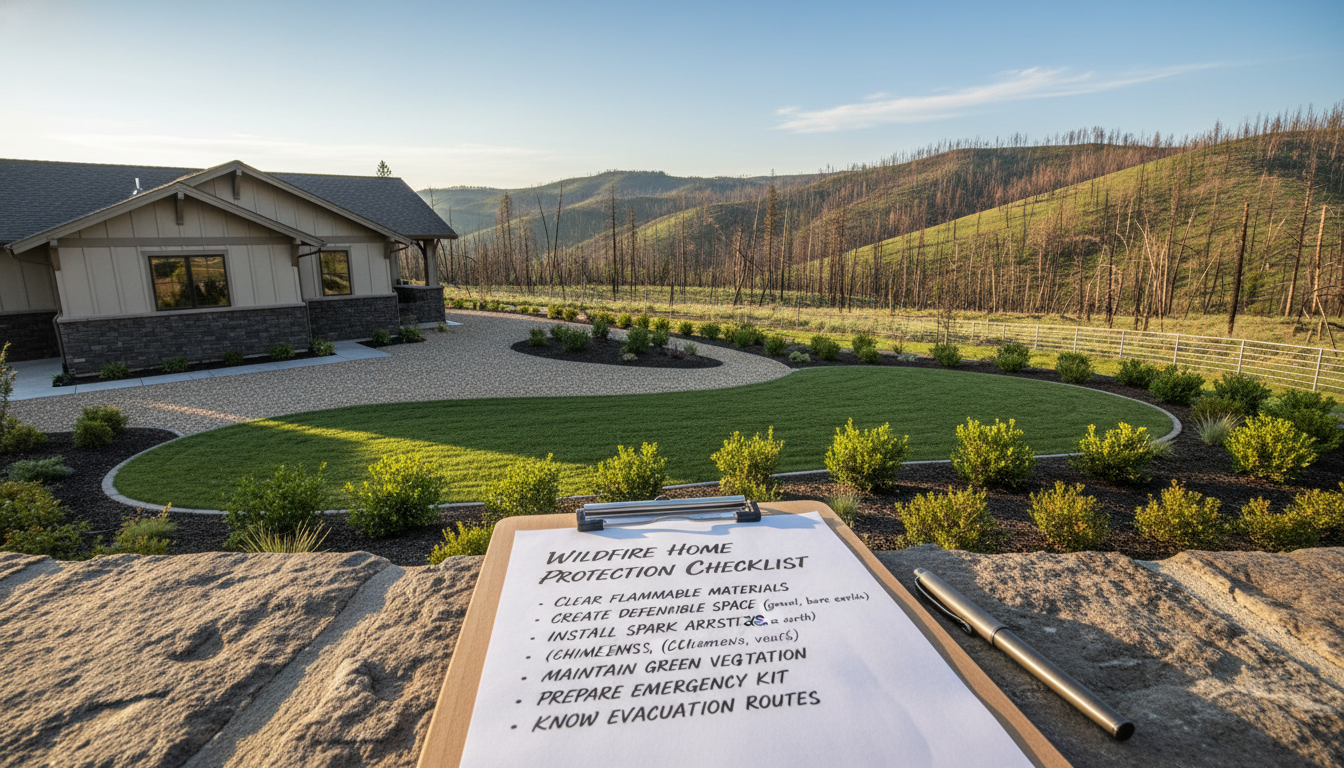
Disasters can happen anytime, anywhere. Hurricanes hit Florida, tornadoes hit Oklahoma, and wildfires spread in California. Blizzards blanket Minnesota. Affordable emergency supplies are key for all families.
Building a safety net doesn’t have to be expensive. Smart planning and regular saving are better than big, costly buys. Your weekly savings add up over time, protecting your home.
Before you start shopping, ask three important questions. First, what emergencies are common in your area? Second, how many people need supplies? Third, how long do you want to prepare for?
These questions guide your plan. They help you focus on what’s most important. This way, you avoid unnecessary items and spend on what keeps your family safe. It makes emergency preparedness easy and manageable.
Table of Contents
Why Emergency Preparedness on a Budget Is Achievable for Every Family
Many think you need to spend thousands to prepare for emergencies. But, this stops many from starting. The truth is, you can start protecting your family with just $50. Then, add a little each week to keep going.
Expensive kits often have items you won’t use. These kits cost a lot but don’t fit your family’s needs. Shopping slowly and wisely saves money and makes your kit better for you.
The Myth That Disaster Planning Requires Thousands of Dollars
Marketing makes you think you need to buy everything at once. But, buying supplies slowly is cheaper. You can get what you need without breaking the bank.
Think about buying a few extra canned goods each time you shop. This is cheaper than buying a lot all at once. Basic items like rice, beans, and tools are better than expensive “survival” products. Spending $20 a week for a year is smarter than $1,000 upfront.
- Weekly shopping allows time to hunt for sales
- Gradual purchases prevent financial strain
- Strategic buying creates balanced preparedness
- Small investments fit easily into household budgets
How a Weekly Approach Builds Comprehensive Preparedness Over Time
Spending $20 a week is easy to fit into your budget. This steady approach makes disaster planning a part of your life. It lets you buy what you really need over time.
This method teaches you to think about preparedness all the time. You learn to find deals and make smart choices. In a year, you’ll have a great set of supplies without the rush of spending too much at once.
| Budget Method | Total Cost | Timeline | Results |
|---|---|---|---|
| One-time large purchase | $1,000 | Single weekend | Generic items, possible overspending, limited customization |
| Weekly $20 purchases | $1,040 | 52 weeks | Strategic selections, cost savings, personalized supplies, established habits |
| Pre-packaged emergency kit | $200–$400 | One purchase | Limited usefulness, poor fit for family needs, hidden costs |
Starting small makes it easier. You see progress right away without feeling overwhelmed. By the end of your first month, you’ll feel safer knowing your family is ready for emergencies.
Starting Your First Month: Water, Food, and Essential Supplies
Your first month is key to getting ready for emergencies. You don’t need to spend a lot to start. With a $20 weekly budget, you can get the basics your family needs for the first month.
Water is most important. You can last weeks without food but only days without water. The CDC says store 1 gallon of water per person per day. For a family of four, that’s 56 gallons for two weeks.
Start by buying bottled water for $5 to $10. This gives you a good start while you look for other ways to store water.
Stretch your water by using clean two-liter bottles with water purification tablets. Don’t use milk or juice cartons because they can spoil. Date your water and replace it every six months. Fill your bathtub with water before a storm for extra for cleaning and flushing toilets.

Choose foods your family likes and that last a long time. Avoid buying foods you won’t eat. Start with these affordable items:
- Canned proteins: tuna, salmon, chicken, and beans (12-15 cans total)
- Pasta and rice: 8 boxes of pasta and 10-12 pounds of rice
- Pasta sauce: 6-10 jars
- Canned vegetables and fruits: 10-12 cans
- Peanut butter and jelly for quick calories
- Powdered milk: 2-3 boxes
- Cereals, oats, and granola bars for breakfast options
- Canned soups and broths
- Dried fruits, nuts, and trail mix for energy
- Canned juice and shelf-stable milk
- Salt, sugar, seasonings, and honey
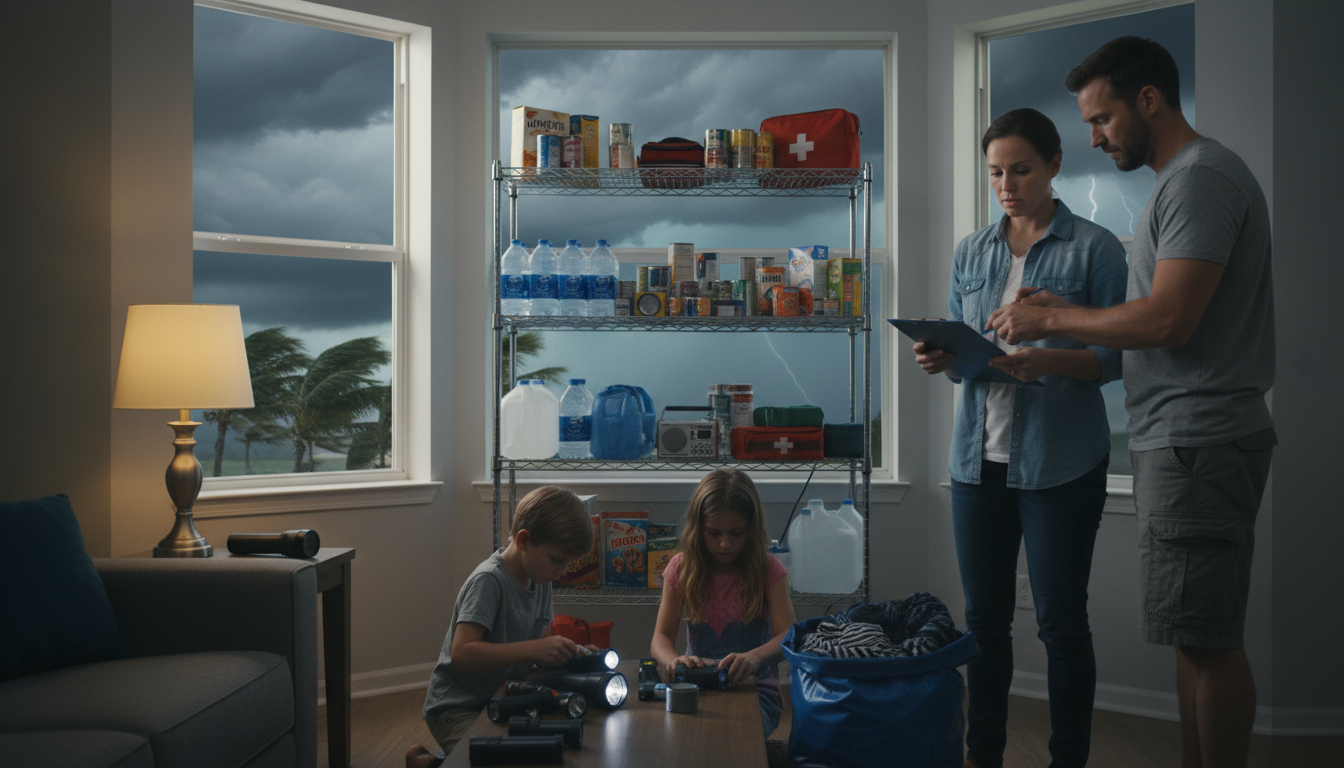
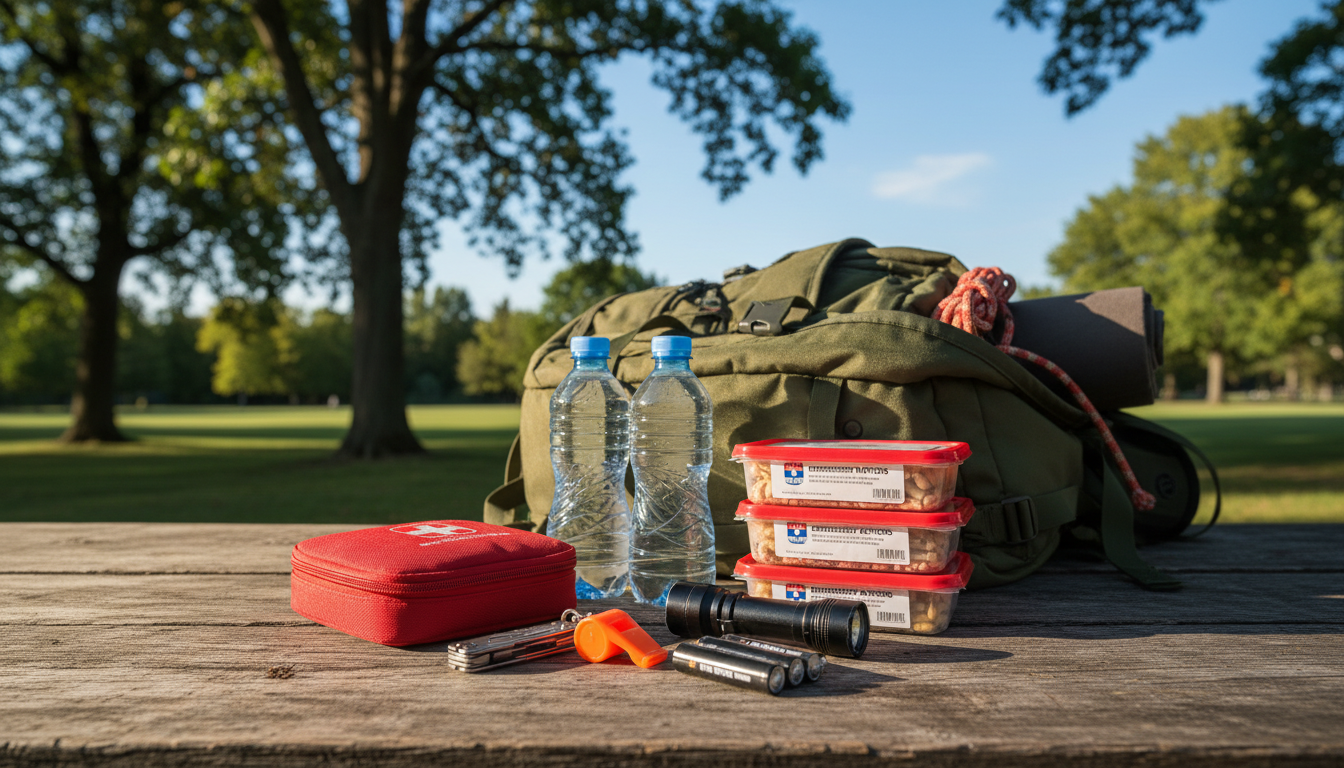
First month essentials also include safety and sanitation items. Dollar stores have bandages, first aid ointments, candles, flashlights, and batteries. Duct tape and paracord are cheap but useful for emergencies.
Other cheap items for your kit are bleach, baby wipes, soap, rubbing alcohol, and hydrogen peroxide. Also, pain and stomach meds, vitamins, water purification tablets, feminine products, diapers, and baby food if needed.
| Week | Primary Focus | Approximate Cost | Key Items |
|---|---|---|---|
| Week 1 | Water Storage | $5-$10 | Bottled water cases or purification tablets with clean containers |
| Week 2 | Proteins and Grains | $15-$20 | Canned tuna, pasta, rice, and canned beans |
| Week 3 | Complementary Foods and First Aid | $15-$20 | Canned vegetables, peanut butter, bandages, and candles |
| Week 4 | Sanitation and Tools | $15-$20 | Bleach, duct tape, batteries, flashlights, and hygiene products |
Shopping smart can save you money. Look for the best deals on bulk items. Choose generic brands and watch for sales on canned goods. Dollar stores have great prices on first aid and emergency supplies.
Spread your shopping across different categories. This way, your family has variety in emergency meals. Kids will be more adaptable with different options. Buying a mix of items each week is better than buying too much of one thing.
Keep track of your supplies with dates and rotation schedules. Make a list of what you bought, when, and where it’s stored. Check your supplies twice a year and replace water to keep everything fresh and ready.
Committing to the first month sets the stage for long-term emergency readiness. Start small and make consistent weekly purchases. This won’t break the bank or clutter your space.
Building Your Emergency Kit Week by Week Without Breaking the Bank
Creating a budget-friendly emergency plan doesn’t require saving thousands of dollars. By using your $20 weekly budget, you can make disaster preparedness manageable. It’s important to stay organized and know what you need before shopping.
Start by tracking what you already have and what you need. This way, you avoid buying duplicate items. It ensures your emergency supplies work well together.
Begin by buying items under $10 in your first weeks. Then, move to items between $10 and $20. Later, focus on items priced from $20 to $40. This method keeps your motivation high as you see progress every week.
Prioritizing Needs Over Wants in Your Preparedness Plan
Every dollar spent on disaster supplies should go to genuine needs first. Ask yourself if you would regret not having an item if an emergency happened tomorrow. This question helps you decide if something is a need or a want.
Needs always come before wants. Water and food are more important than generators. Basic first aid supplies are more critical than advanced medical equipment. Flashlights and batteries are more important than solar power systems. This hierarchy keeps your spending focused on survival essentials.
- Water and canned food
- Flashlights and batteries
- First aid kit basics
- Medications and prescriptions
- Important documents and copies
- Blankets and warm clothing
- Hand-crank radio
A generator won’t help you survive without food and water. Save money for wants like camping gear upgrades or solar panels after your foundation is solid. This approach isn’t about denying yourself nice things. It’s about timing. Wants are saved for later when your emergency kit is complete.
Shopping Strategies That Maximize Your $20 Weekly Budget
Smart shopping can turn your $20 into powerful budget-friendly emergency planning. Dollar stores offer great prices on batteries, flashlights, and basic first aid supplies. Walmart and CVS often have sales on canned goods and water. Discount grocery stores provide big savings on bulk rice, beans, and pasta.
Use these proven tactics to stretch every dollar:
| Shopping Strategy | Best For | Savings |
|---|---|---|
| Generic brand purchases | Canned goods, batteries, first aid items | 30-50% off name brands |
| BOGO sales on canned food | Vegetables, fruits, soups, beans | Buy one, get one free |
| Bulk buying with neighbors | Rice, flour, pasta, cooking oil | 25-40% savings per person |
| Cash-back rebate apps | Any grocery or pharmacy purchase | 2-10% back on purchases |
| Seasonal sales timing | Canned goods before holidays, batteries before back-to-school | 15-35% discount |
| Discount warehouse clubs | Water cases, bulk canned goods, batteries | 20-45% bulk savings |
Compare prices at dollar stores, Walmart, and local grocery chains. Download apps that show current deals and send price alerts. Watch for seasonal sales—canned goods often go on sale before holidays, and batteries drop in price during back-to-school season.
Build relationships with store managers. They can alert you to upcoming markdowns and help you find clearance items. Avoid shopping when emergencies approach. Pre-disaster rushes cause vendors to raise prices dramatically. Instead, play the long game by spotting deals during normal shopping and building your supply slowly.
Repurpose items you already own. Use existing backpacks for go-bags. Save extra blankets for warmth. Convert old smartphones into offline reference devices. Ask neighbors about sharing tools like chainsaws, shovels, and clippers for post-disaster cleanup. These approaches save money while strengthening community connections.
Set aside $20 monthly for your emergency fund. This dedicated amount ensures you stay consistent and don’t dip into emergency supplies for other expenses. Your $20 weekly commitment builds a complete emergency kit that protects your family without overwhelming your wallet.
Expanding Beyond the Basics: Medical Supplies, Tools, and Long-Term Storage
You’ve started with the basics like water, food, and supplies. Now, add medical supplies, tools, and smart storage. This makes your emergency kit better without spending too much. You can do this with just $20 a week.
Medical supplies are key for affordable emergency kits. Think about your family’s health needs. Do you have someone with chronic conditions or allergies? Your first-aid kit should match your family’s needs, not just generic lists. Making your own kit saves money, and dollar stores and pharmacy sales help a lot.
When adding medical supplies, focus on what’s really important for your family. Check out essential medical supplies for long-term emergencies. Start with these key items:
- More bandages and gauze in different sizes
- Antiseptic wipes and antibiotic creams
- Over-the-counter pain relievers like ibuprofen and acetaminophen
- Antihistamines for allergic reactions
- Tweezers for splinter removal
- Medical records copies for each family member
- Prescription medication backups in a 90-day supply when possible
Ask your doctor for extra prescription refills early. This helps build a small backup supply. Keep a list of all medications with dosages in your emergency kit. This prevents mistakes when you’re stressed.
Tools and equipment are the next step in affordable survival preparation. They make emergencies more comfortable. Here’s how different items fit your budget:
| Item | Approximate Cost | Weeks of Savings | Why It Matters |
|---|---|---|---|
| Camp shower | $40 | 2 weeks | Hygiene improves morale and health |
| Sleeping bags | $60 | 3 weeks | Critical for temperature control |
| Tent | $80 | 4 weeks | Shelter from elements during evacuation |
| Propane heater | $200 | 10 weeks | Winter survival essential in cold climates |
| Camp stove | $50 | 2.5 weeks | Cooking without electricity |
| Generator | $400 | 20 weeks | Powers medical equipment and essentials |
Your location affects what tools you need. A Minnesota family might need a propane heater more. A Florida family might focus on a tent and camp shower. Choose items that fit your climate and likely emergencies.
Long-term food storage is also key. Freeze-dried meals are convenient but vary in quality. Buy small amounts first to test before buying more. Use storage solutions like rotating shelves and clear totes. Label everything with dates. Quick access is vital.
Document preparation is often overlooked but critical. Disasters affect not just your safety but also recovery. Store important documents in multiple ways:
- Physical copies in waterproof folders at home
- Digital scans on flash drives in your emergency kit
- Cloud storage through Google Drive, Dropbox, or Microsoft OneDrive with strong passwords
Important documents include birth certificates, marriage certificates, medical records, and more. Include photos of valuable items for insurance claims.
Communication is key for emergency and recovery. Dead phones make memorized numbers useless. Keep a notebook with emergency contacts and important numbers. Download offline maps and guides. Print favorite recipes and how-to guides. Store a whistle for signaling rescuers. Use wind-up flashlights and weather radios. Solar garden lights cost just $1 and charge during the day.
This phase of building your survival preparation takes time. But, being consistent builds resilience. You’re adding layers of protection that grow week by week. Your family’s safety and comfort are more important than speed.
Conclusion
Emergency preparedness on a budget is not just possible—it’s smart. You can start with just $20 a week. This way, you can protect your family without breaking the bank.
Starting small, like with water in the first month, can lead to a full pantry by the third. First aid supplies can grow into full medical kits. Each week, you add to your safety and peace of mind.
The weekly plan fits your life perfectly. It doesn’t force you to spend money you don’t have. You make smart choices each week, learning what works best for your family.
By investing $20 a week, you’re following a principle that’s key to disaster readiness. This approach is backed by research on building disaster-ready budgets. It shows that steady investment and planning are more important than quick spending.
Remember, there’s no one-size-fits-all approach to emergency preparedness on a budget. Every step you take, whether it’s buying rice and beans or water and medical supplies, is right. It’s all about moving forward.
Items like generators or extra fuel may take months to save for. But they’re worth the wait. You’re building something that will last. Start this week with your first $20 of supplies. Take that first step for your family.
Preparedness isn’t about fear. It’s about love and responsibility. It’s about ensuring your family’s safety, warmth, and food, no matter what. With steady action and smart choices, your family will be ready. Emergency preparedness on a budget is your way forward.
FAQ
Is per week really enough to build a complete emergency kit?
Yes, it is. Spending a week lets you build a better emergency kit than buying everything at once. Over a year, you’ll spend about
FAQ
Is $20 per week really enough to build a complete emergency kit?
Yes, it is. Spending $20 a week lets you build a better emergency kit than buying everything at once. Over a year, you’ll spend about $1,040. This is enough for most families.
It’s all about being consistent and smart with your shopping. By spreading out your purchases, you can find better deals and avoid overpaying.
What should I prioritize purchasing in my first month of budget emergency preparedness?
Start with the basics: water, food, first aid, and lighting. Spend the first week on water. Then, add food and first aid in the next weeks.
By the fourth week, add sanitation items and more food. This way, you build a solid foundation without wasting money.
Why are expensive pre-packaged emergency kits a waste of money?
These kits often don’t fit your family’s needs. They’re overpriced and may not include what you really need. Buying items yourself lets you save money and get what’s right for you.
Plus, these kits might not have everything you need. For example, a family with diabetes needs special supplies that generic kits don’t have.
How do I know what emergencies to prepare for with my budget supplies?
First, think about the emergencies in your area. Look at your state and county’s disaster history. This helps you know what to prepare for.
Also, consider how many people need supplies and for how long. This helps you plan better.
Where should I shop to maximize my $20 weekly budget for emergency supplies?
Shop at different places to get the best deals. Dollar stores are great for basics. Warehouse clubs have bulk items at good prices.
Regular grocery stores have sales and discounts. Use apps and websites to compare prices. This way, you can save money and get what you need.
What’s the difference between the “single category” and “diversified” shopping approaches?
The single category method focuses on one item each week. The diversified method spreads your money across different items.
The diversified method is better for families. It helps you build a balanced emergency kit faster. It also makes sure you have a variety of supplies.
Should I buy foods I don’t normally eat for my emergency supplies?
No, don’t stock foods you won’t eat. Many people make this mistake. It wastes money and space.
Buy shelf-stable versions of foods you already like. This way, you’ll actually eat the supplies if needed. It also keeps your family’s morale up during emergencies.
How do I prioritize between needs and wants in my emergency preparedness budget?
Always put water and food first. Then, add basic first aid and lighting. Save wants like generators for later.
Ask yourself if you really need something before buying it. This way, you focus on essentials first. You can save for wants later.
How can I afford expensive items like generators or propane heaters on a $20 weekly budget?
Save for big items over time. Set a timeline for saving. This makes big purchases more manageable.
Plan based on your needs and where you live. This way, you can afford big items without breaking the bank.
What medical supplies should I include beyond basic bandages in my emergency kit?
Tailor your medical supplies to your family’s health needs. Ask your doctor for extra medication. Include items for allergies and common health issues.
Keep a list of medications in your kit. This ensures you have what you need in an emergency.
Should I buy freeze-dried emergency meals for my budget preparedness plan?
Try freeze-dried meals first. They vary in taste and quality. Buy foods your family likes instead.
This way, you’ll actually eat the supplies if needed. It also saves money and ensures you enjoy your meals.
What documents should I backup for emergency preparedness?
Copy important documents like birth certificates and insurance cards. Use physical copies, digital scans, and cloud storage.
This ensures you can access important information even if your home is damaged.
How does communication preparedness part of emergency planning?
Communication is key when power and phones fail. Keep a notebook with emergency contacts. Download offline maps and store reference materials.
This way, you can reach family members and access important information even without technology.
How do I avoid the temptation to skip weeks or use preparedness budget money for other purposes?
Treat your preparedness budget like a bill. Set reminders and use the envelope method. This keeps you consistent and on track.
Remember, this investment in your family’s safety is worth it. It gives you peace of mind and prepares you for emergencies.
Can I use items I already own to reduce my preparedness expenses?
Yes, repurpose items you already have. Use backpacks, blankets, and old phones for emergency supplies. This saves money and builds community connections.
Before buying new items, check what you already have. This way, you can make the most of your resources.
What’s the best way to organize and store supplies purchased through the $20 weekly method?
Use storage solutions like shelves and labeled totes. Organize by category for easy access. Use a FIFO method to ensure older supplies get used first.
Keep essentials like flashlights and batteries in easy-to-reach places. Store heavier items like water on lower shelves. This keeps your supplies organized and accessible.
How does the weekly preparedness approach build knowledge and confidence beyond just accumulating supplies?
Each week’s purchase is a chance to learn and grow. Research different products and understand your family’s needs better.
This education makes you a more informed consumer. It helps you adapt during emergencies and builds confidence.
Is there a “right way” to build emergency supplies on a budget?
There’s no one-size-fits-all approach. Families must customize their plans based on their needs and situation. The key is to be consistent with your spending.
Whether you focus on one item or spread your money across different categories, the goal is to make progress. Be flexible and adapt your plan as needed.
Why is starting immediately more important than achieving perfection in emergency preparedness?
Disasters don’t wait for you to be ready. Starting now with your first $20 on water gives you real protection. Waiting for a “perfect” kit leaves you vulnerable.
Starting builds momentum and makes it easier to keep going. Don’t wait for perfection. Start now and make progress.
How do I avoid price gouging when emergencies are approaching and everyone rushes to stores?
Build your supplies during calm times to avoid high prices. This way, you can buy at normal prices. Store managers can help you find deals.
Shopping ahead of disaster seasons ensures you get what you need without overpaying. This proactive approach saves money and keeps you prepared.
What if my family’s budget is extremely tight and $20 per week feels impossible?
Start with what you can afford. Even $10 or $5 a week is better than nothing. The key is to be consistent.
Look for free or discounted supplies. Some communities offer help. Start with what you can do and gradually increase your spending.
How does emergency preparedness relate to affordable emergency supplies and frugal emergency readiness?
Affordable supplies and frugal readiness are key to the $20 weekly method. Focus on essentials first. Shop smart to save money.
Building a low-cost kit is better than buying expensive ones. Education and consistency are more important than spending a lot.
Is emergency preparedness on a budget appropriate for renters or only homeowners?
The $20 weekly method works for renters and homeowners alike. Renters should focus on portable supplies. Homeowners can prepare for sheltering in place.
Document your rental items for insurance purposes. The key is to be consistent with your spending, regardless of your housing situation.
How should families with special needs (elderly members, pets, infants, disabilities) adjust the $20 weekly budget approach?
Tailor your purchases to your family’s specific needs. Allocate budget for mobility aids, medications, and pet supplies. This ensures you have what you need in an emergency.
Review your family’s needs before each week’s purchases. This way, you can build a kit that’s right for you.
What if my family’s budget is extremely tight and $20 per week feels impossible?
Start with what you can afford. Even small amounts can add up over time. Look for free or discounted supplies.
Some communities offer help. Start with what you can do and gradually increase your spending. Every little bit helps.
,040. This is enough for most families.
It’s all about being consistent and smart with your shopping. By spreading out your purchases, you can find better deals and avoid overpaying.
What should I prioritize purchasing in my first month of budget emergency preparedness?
Start with the basics: water, food, first aid, and lighting. Spend the first week on water. Then, add food and first aid in the next weeks.
By the fourth week, add sanitation items and more food. This way, you build a solid foundation without wasting money.
Why are expensive pre-packaged emergency kits a waste of money?
These kits often don’t fit your family’s needs. They’re overpriced and may not include what you really need. Buying items yourself lets you save money and get what’s right for you.
Plus, these kits might not have everything you need. For example, a family with diabetes needs special supplies that generic kits don’t have.
How do I know what emergencies to prepare for with my budget supplies?
First, think about the emergencies in your area. Look at your state and county’s disaster history. This helps you know what to prepare for.
Also, consider how many people need supplies and for how long. This helps you plan better.
Where should I shop to maximize my weekly budget for emergency supplies?
Shop at different places to get the best deals. Dollar stores are great for basics. Warehouse clubs have bulk items at good prices.
Regular grocery stores have sales and discounts. Use apps and websites to compare prices. This way, you can save money and get what you need.
What’s the difference between the “single category” and “diversified” shopping approaches?
The single category method focuses on one item each week. The diversified method spreads your money across different items.
The diversified method is better for families. It helps you build a balanced emergency kit faster. It also makes sure you have a variety of supplies.
Should I buy foods I don’t normally eat for my emergency supplies?
No, don’t stock foods you won’t eat. Many people make this mistake. It wastes money and space.
Buy shelf-stable versions of foods you already like. This way, you’ll actually eat the supplies if needed. It also keeps your family’s morale up during emergencies.
How do I prioritize between needs and wants in my emergency preparedness budget?
Always put water and food first. Then, add basic first aid and lighting. Save wants like generators for later.
Ask yourself if you really need something before buying it. This way, you focus on essentials first. You can save for wants later.
How can I afford expensive items like generators or propane heaters on a weekly budget?
Save for big items over time. Set a timeline for saving. This makes big purchases more manageable.
Plan based on your needs and where you live. This way, you can afford big items without breaking the bank.
What medical supplies should I include beyond basic bandages in my emergency kit?
Tailor your medical supplies to your family’s health needs. Ask your doctor for extra medication. Include items for allergies and common health issues.
Keep a list of medications in your kit. This ensures you have what you need in an emergency.
Should I buy freeze-dried emergency meals for my budget preparedness plan?
Try freeze-dried meals first. They vary in taste and quality. Buy foods your family likes instead.
This way, you’ll actually eat the supplies if needed. It also saves money and ensures you enjoy your meals.
What documents should I backup for emergency preparedness?
Copy important documents like birth certificates and insurance cards. Use physical copies, digital scans, and cloud storage.
This ensures you can access important information even if your home is damaged.
How does communication preparedness part of emergency planning?
Communication is key when power and phones fail. Keep a notebook with emergency contacts. Download offline maps and store reference materials.
This way, you can reach family members and access important information even without technology.
How do I avoid the temptation to skip weeks or use preparedness budget money for other purposes?
Treat your preparedness budget like a bill. Set reminders and use the envelope method. This keeps you consistent and on track.
Remember, this investment in your family’s safety is worth it. It gives you peace of mind and prepares you for emergencies.
Can I use items I already own to reduce my preparedness expenses?
Yes, repurpose items you already have. Use backpacks, blankets, and old phones for emergency supplies. This saves money and builds community connections.
Before buying new items, check what you already have. This way, you can make the most of your resources.
What’s the best way to organize and store supplies purchased through the weekly method?
Use storage solutions like shelves and labeled totes. Organize by category for easy access. Use a FIFO method to ensure older supplies get used first.
Keep essentials like flashlights and batteries in easy-to-reach places. Store heavier items like water on lower shelves. This keeps your supplies organized and accessible.
How does the weekly preparedness approach build knowledge and confidence beyond just accumulating supplies?
Each week’s purchase is a chance to learn and grow. Research different products and understand your family’s needs better.
This education makes you a more informed consumer. It helps you adapt during emergencies and builds confidence.
Is there a “right way” to build emergency supplies on a budget?
There’s no one-size-fits-all approach. Families must customize their plans based on their needs and situation. The key is to be consistent with your spending.
Whether you focus on one item or spread your money across different categories, the goal is to make progress. Be flexible and adapt your plan as needed.
Why is starting immediately more important than achieving perfection in emergency preparedness?
Disasters don’t wait for you to be ready. Starting now with your first on water gives you real protection. Waiting for a “perfect” kit leaves you vulnerable.
Starting builds momentum and makes it easier to keep going. Don’t wait for perfection. Start now and make progress.
How do I avoid price gouging when emergencies are approaching and everyone rushes to stores?
Build your supplies during calm times to avoid high prices. This way, you can buy at normal prices. Store managers can help you find deals.
Shopping ahead of disaster seasons ensures you get what you need without overpaying. This proactive approach saves money and keeps you prepared.
What if my family’s budget is extremely tight and per week feels impossible?
Start with what you can afford. Even or a week is better than nothing. The key is to be consistent.
Look for free or discounted supplies. Some communities offer help. Start with what you can do and gradually increase your spending.
How does emergency preparedness relate to affordable emergency supplies and frugal emergency readiness?
Affordable supplies and frugal readiness are key to the weekly method. Focus on essentials first. Shop smart to save money.
Building a low-cost kit is better than buying expensive ones. Education and consistency are more important than spending a lot.
Is emergency preparedness on a budget appropriate for renters or only homeowners?
The weekly method works for renters and homeowners alike. Renters should focus on portable supplies. Homeowners can prepare for sheltering in place.
Document your rental items for insurance purposes. The key is to be consistent with your spending, regardless of your housing situation.
How should families with special needs (elderly members, pets, infants, disabilities) adjust the weekly budget approach?
Tailor your purchases to your family’s specific needs. Allocate budget for mobility aids, medications, and pet supplies. This ensures you have what you need in an emergency.
Review your family’s needs before each week’s purchases. This way, you can build a kit that’s right for you.
What if my family’s budget is extremely tight and per week feels impossible?
Start with what you can afford. Even small amounts can add up over time. Look for free or discounted supplies.
Some communities offer help. Start with what you can do and gradually increase your spending. Every little bit helps.